Hello everyone!
I will showcase, here, my final solution to recreate a free publish blog using :
- GitHub
- Notenote.link template
- Jekyll
- Python
Difference with other Free Publish
The main difference with a lot of free publish : My script will only publish the file you want. Aka, the file where you set share: true in the front matter.
(PS : There are another methods with Hugo/Jekyll and GitHub actions here).
Compared to them, my methods directly push using git with the script. The “Hugo” method is the opposite: the push will cause the action of the script.
You are welcome to adapt the script to GitHub actions.
I try to do that, but the submodule way is not the best way and I want to avoid sharing all my vault on GitHub
Before Started
Use the template on my fork to get started. After, follow the ffirst Readme (wrote by @Maxence)
Get Started
Get Started
- You first need to create a template using YAFPA-blog
- After, do
pip install YAFPA
The first time you use the script, it will ask you three things :
- Your vault path (absolute path !)
- The path of the blog (absolute too !)
- The link of your blog, as
https://my-awesome-blog.netlify.app/
You can reconfigure the path with yafpa --config
The file will be created in your site_package folder (you can get it with pip show YAFPA)
Script
Usage: yafpa [-h] [--preserve | --update] [--filepath FILEPATH] [--git] [--keep] [--config]
Create file in folder, move image in assets, convert to relative path, add share support, and push to git
Optional arguments:
-h, --help: show this help message and exit--preserve, --p, --P: Don’t delete file if already exist--update, --u, --U: force update : delete all file and reform.--filepath FILEPATH, --f FILEPATH, --F FILEPATH: Filepath of the file you want to convert--git, --g, --G: No commit and no push to git--keep, --k: Keep deleted file from vault and removed shared file--config, --c: Edit the config file
Checking differences
The script will convert all file with share:true and check if the contents
are different to the versions in _notes. The only things that are
ignored is the contents of the metadata. If you want absolutely change the
metadata you can:
- Use
yafpa --file <filepath>directly - Use
--uto force update all file - Continue to work on the file before pushing it.
- Add a newline
- Manually delete the file
- Add or edit the metadata keys (unless
date/title/created/update/link).
![]() As always with git, you can repost the exact same file that already exists on the server.
As always with git, you can repost the exact same file that already exists on the server.
Limitations
![]() In case you have two files with the same name but :
In case you have two files with the same name but :
-
In different folder
-
With different sharing status or folder
The script will bug because The folder is not checked (It’s not required). In this unique case, you need to rename one of the files. -
In the same way, in case you change the folder key in the metadata, you will have two identic file in different folder.
Options
Share all
yafpa and all yafpa option without --F FILEPATH will automatically read all file in your vault to check the share: true key in metadata (frontmatter YAML).
By default, the script will check the difference between line (cf checking difference), and convert only the file with difference. You can use --u to force update.
Share only a file
The command will be : yafpa --F filepath
The file to be shared does not need to contain share: true in its YAML, and will be updated no matter what.
How it works
The script :
- Moves file (with
share: truefrontmatter or specific file) in the_notesfolder - Moves image in
assets/imgand convert (with alt support) - Converts highlight (
==mark==to[[mark::highlight]]) - Converts “normal” writing to GFM markdown (adding
\neach\n) - Supports non existent file (adding a css for that
 )
) - Supports image flags css (Lithou snippet
 )
) - Support normal and external files (convert “normal markdown link” to
“wikilinks”) - Edit link to support transluction (if not
embed: False) - Remove block id (no support)
- Add CSS settings for inline tags (no link support) ; Tags are : class = .hash ; id = #tag_name (so you can style each tags you use)
- Frontmatter : Update the date. If there is already a
datekey, save it tocreatedand updatedate. - Frontmatter : In absence of title, add the file’s title.
- Copy the link to your clipboard if one file is edited.
 Admonition conversion to “callout inspired notion”
- Update the frontmatter in the original file, adding the link and change
shareto true if one file is shared.
Finally, the plugin will add, commit and push if supported.
Note : The clipboard may not work in your configuration. I have (and can) only test the script on IOS and Windows, so I use pyperclip and pasteboard to do that. If you are on MacOS, Linux, Android, please, check your configuration on your python and open an issue if it doesn’t work.
Note : I can’t test on these 3 OSes, so I can’t create a clipboard option on my own.
Custom CSS
You can add CSS using the file custom.css. The plugin Markdown Attribute allow to use the creation of inline css.
Some information about this :
- You need to add
:after the first{ - The inline IAL work only if there is stylized markdown. In absence, the text will be bolded.
- It won’t work with highlight (removed automatically by the script)
![]() As I use CodeMirror Options and Contextual Typography, I warn you : the use of
As I use CodeMirror Options and Contextual Typography, I warn you : the use of #tags to stylize the text before it doesn’t work with my build. So, as an option to don’t have a random tag in a text, you can use custom.css to remove it with display: none (you can have an example with #left).
Frontmatter settings
share: true: Share the fileembed: false: remove the transluction (convert to normal wikilinks)update: false: Don’t update the file at all after the first pushcurrent: false: Don’t update the datefolder: Use a different folder than_note(here some more information)
Admonition
As admonition is very tricky, I choose to convert all admonition to a “callout Notion”.
The script will :
- Remove codeblock for admonition codeblocks
- Convert
```ad-```to!!!ad- - Bold title and add a IAL
{: .title}
JavaScript will make all things nice.
![]() As always with markdown, you will see some problem with new paragraph inside admonition. You can use
As always with markdown, you will see some problem with new paragraph inside admonition. You can use $~$ to fake line. The script will automatically add this.
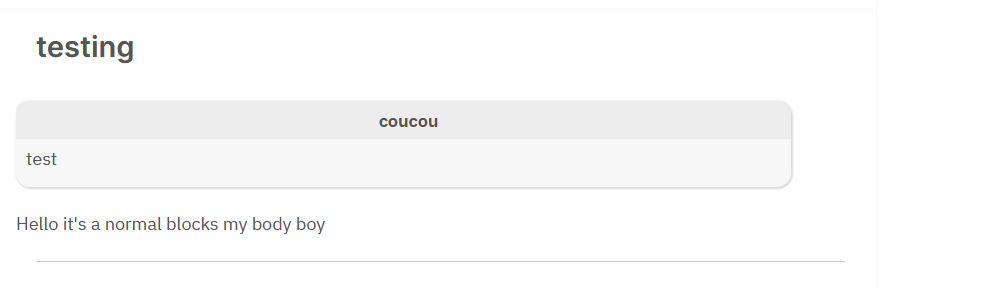
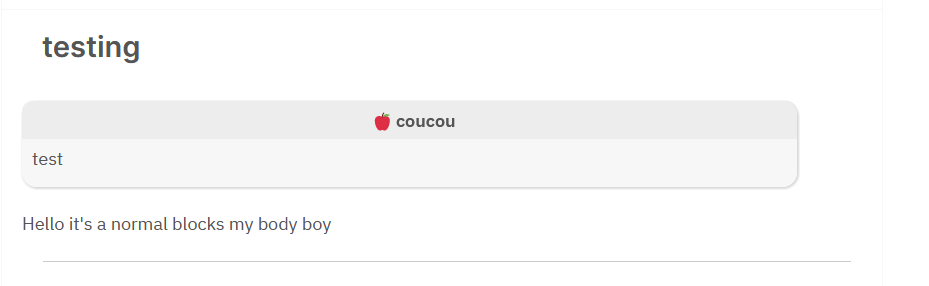
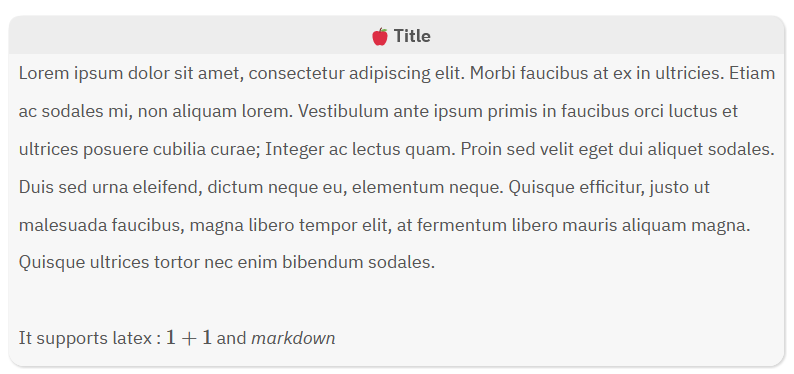
Also, you can add emoji on title to add some nice formatting.
The script will add an emoji to “copy” the icons used by Admonition.
!!!ad-note
**🍎 Title**{:.title}
Lorem ipsum dolor sit amet, consectetur adipiscing elit. Morbi faucibus at ex in ultricies. Etiam ac sodales mi, non aliquam lorem. Vestibulum ante ipsum primis in faucibus orci luctus et ultrices posuere cubilia curae; Integer ac lectus quam. Proin sed velit eget dui aliquet sodales. Duis sed urna eleifend, dictum neque eu, elementum neque. Quisque efficitur, justo ut malesuada faucibus, magna libero tempor elit, at fermentum libero mauris aliquam magna. Quisque ultrices tortor nec enim bibendum sodales.
$~$
It supports latex : $1+1$ and *markdown*
Custom Admonition
The file custom_admonition allow you to create custom admonition for the script.
The template is :
- admonition_type: #Admonition plugin, same name
    - logo #emoji, ASCII...
    - admonition_title #As in admonition plugin
A reference of logo used in the original script :
- Note, seelaso :

- Abstract, summary, tldr:

- info, todo:

- tip, hint, important:

- success, check, done:

- question, help, faq:

- warning, caution, attention:

- failure, fail, missing:

- danger, error:

- bug:

- example, exemple:

- quote, cite:

You need to create multiple key and value for each different synonym you use (as in admonition…)
IOS Shortcuts
You need to found the path of your vault and the blog in your phone. To achieve that, I use a-shell.
First, in a-shell, run pickFolder and choose the folder of your vault, and rerun pickFolder to choose the folder where are the blog data (you need to clone with Working Copy)
After, do showmarks and copy the two path in any note app. Check if the path is not broken because of the paste!
You can also do :
cd
showmarks > bookmark
vim bookmark
Here is a blank sheet to help you if you want to manually write / edit it :
vault=
blog_path=
blog=
With :
vault: Vault Absolute Pathblog_path: Blog repository absolute pathblog: Blog link
a-shell
To use the shortcuts, you need :
- a-shell (Free)
- Working Copy
Before running the shortcuts, you need to install all requirements, aka :
pip install yafpa
yafpa --C
Links:
Obsidian
→ Please use Wikilinks with “short links” (I BEG YOU)
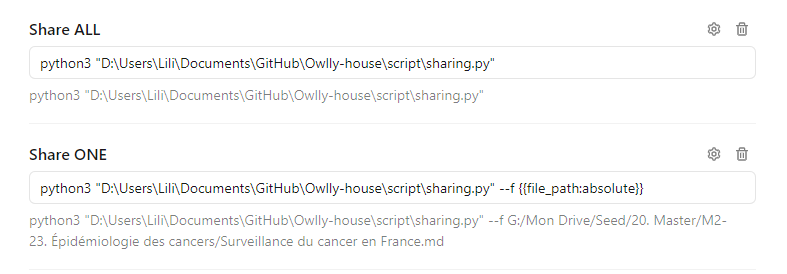
You can integrate the script within obsidian using the nice plugin Obsidian ShellCommands.
You could create two commands :
share all:yafpashare one:yafpa --F {{file_path:absolute}}
You can use :
To have a button to share your file directly in Obsidian !
Template frontmatter
→ The • indicate that this value is optional
title: My files•
date: 12-11-2021•
embed: true•
update: true•
current: true•
folder: notes•
flux: true•
share: false
category: Notes
description: my awesome file
You can use MetaEdit / Supercharged links to quickly update the front matter.

 I updated the repository to add Admonition support.
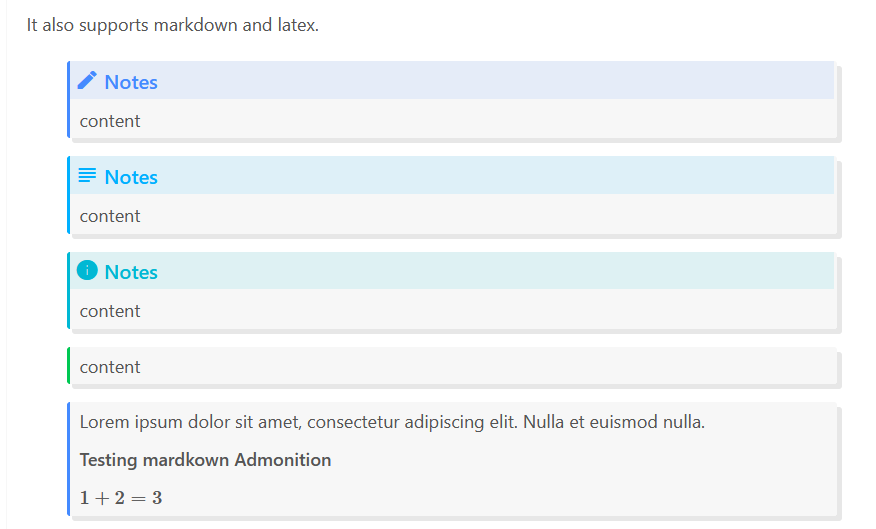
 New Update