Hi all! I’ve recently been learning Obsidian and in collaboration with TfTHacker I have developed a set of shortcuts and custom scripts to allow me to quickly capture my thoughts, tasks and ideas on iOS and on mac, and then process those notes quickly using custom archive, trash, and move commands that work just like processing your email box. The goal of this system is to quickly capture ideas as they come up, but also process them thoroughly so they get put to good use on my projects (or trashed so they don’t clog up my system). In this post I’ll describe my motivation and how to set up a system like this for yourself. I’ve created a video that demonstrates the workflow to give you a better sense of what I am talking about in the post.
Motivation
I have a lot of ideas throughout the day that I have historically used Drafts app to keep track of. This could be anything from ideas about a specific problem I’m having on a project, writing ideas, or random things like grocery lists. One of the things I love about Drafts is how fast it is to launch and jot down a quick note, and how it has a convenient global hot key on mac that automatically creates a new note whenever something comes to mind. Before starting with Obsidian I would process my Drafts notes as needed, and totally clean things out once a week on Sundays and enter them into my note taking system (Roam Research). However, when I did enter my notes, I listed them all on my daily notes page, and wasn’t particularly good about making sure those ideas were put to good use in my future work. It was like I was putting some of my fleeting ideas in a system that would never be resurfaced.
Now I am trying to learn Obsidian and not only does it have a mobile app for quick capture but it also has a folder structure that can be used as an inbox for future processing. However, there is some friction when creating a new note compared with Drafts (it is not quite as fast, especially if plugins need to be reloaded, and it doesn’t automatically create a new note on launch), and there isn’t a great way to quickly process a series of notes in a folder, having to manually drag notes or use several keystrokes in order to move using the command palette. By implementing quick capture scripts on iOS and mac, plus templater scripts for quickly archiving, trashing, or moving a note and then opening up the next note to process, I can quickly process notes in my inbox as needed. For me, this might mean trashing a grocery list that I’m done with, moving the note to a project folder, linking the note to a set of open questions, rewriting the note as a permanent note, etc.
Implementation Details
My setup consists of the following:
- iOS shortcut based on this shortcut designed by TfTHacker that creates a new dated note with contents entered on the go (requires Advanced URI plugin)
- keyboard maestro shortcut (Obsidian Quick capture.zip (1.6 KB) does equivalent quick capture as iOS, also requiring the Advanced URI plugin)
- templater templates for archiving/moving and trashing before moving to next file in folder (for best results, assign the template to a hotkey using the hotkeys for templates plugin)
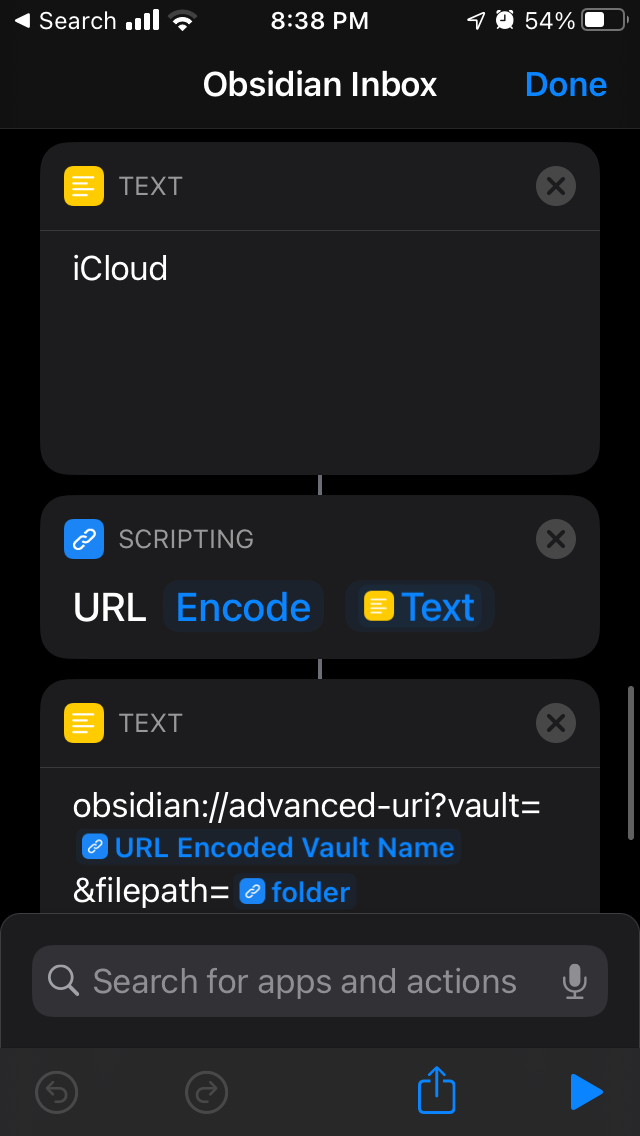
iOS shortcut
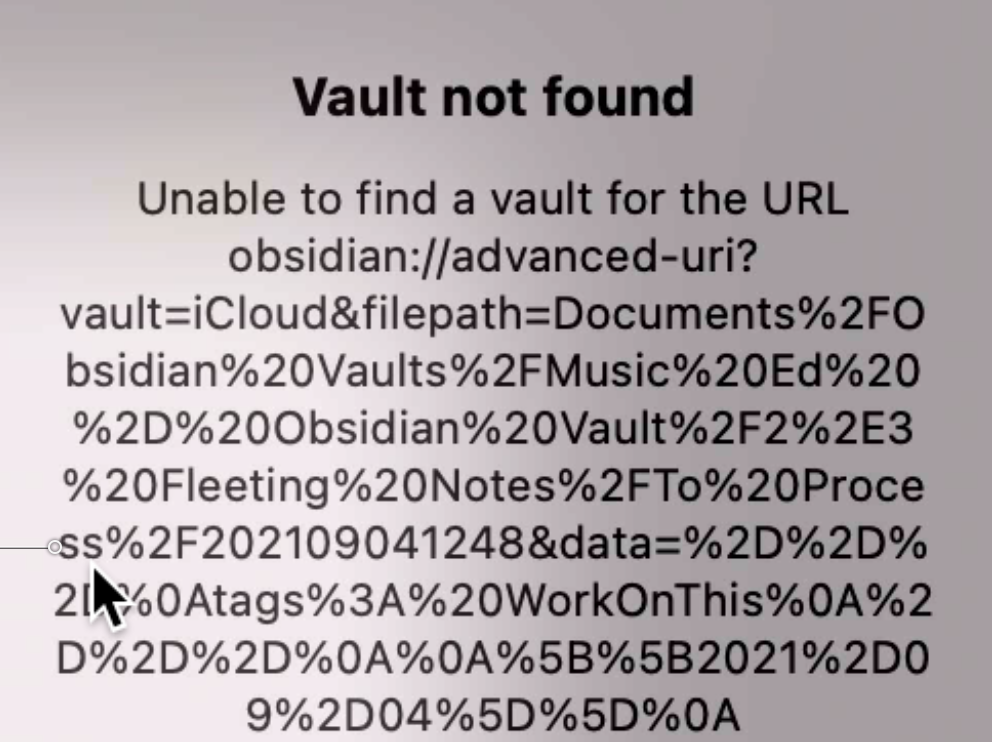
The iOS shortcut allows the user to enter text in the default iOS input editor and then open a new note in Obsidian with the note contents and a pre-formatted template. It will automatically insert anything on the clipboard or any shared content (sharing requires additional setup in the shortcut menu after installation).
To use the shortcut, first, install and enable the advanced URI plugin if you have not already. In the settings, choose whether you want a new pane to be opened on write and set up any additional settings as desired.
Choose either my or TfTHacker’s shortcuts as a starting point. Mine uses the zettelkasten prefixer format for the note name and a template header with a fleeting notes tag, along with a link to the daily notes page. TfTHacker’s is a task dated with the current day, with the note saved to an IBX@@ dated note. My note is based on his so you can readily modify either to get it to work for you. At the very least, you should modify the name of the vault to your vault name. You can edit the template text directly in the text fields; to edit the dates click on them and a menu will come up to configure them. If ours do not suit your needs, check out some other iOS shortcuts here.
Keyboard maestro shortcut
The keyboard maestro shortcut uses a global hotkey to enter the same URI as the iOS shortcut to create a new note. I also resize the window (I like it smaller so I can see what else I’m working on), and moves the cursor down to the bottom of the note for you to write in.
To get started, first install and enable the advanced URI plugin if you have not already. In the settings, choose whether you want a new pane to be opened on write and set up any additional settings as desired.
The keyboard maestro shortcut is attached to this post. To use, click File > Import macros safely and import the macro. You will want to set the filePath and template variables to whatever you want for your notes. The keyboard maestro shortcut also resizes the window to the right hand side and types CMD+Down Arrow and return to take me to the bottom of the note below my template. Customize as you desire.
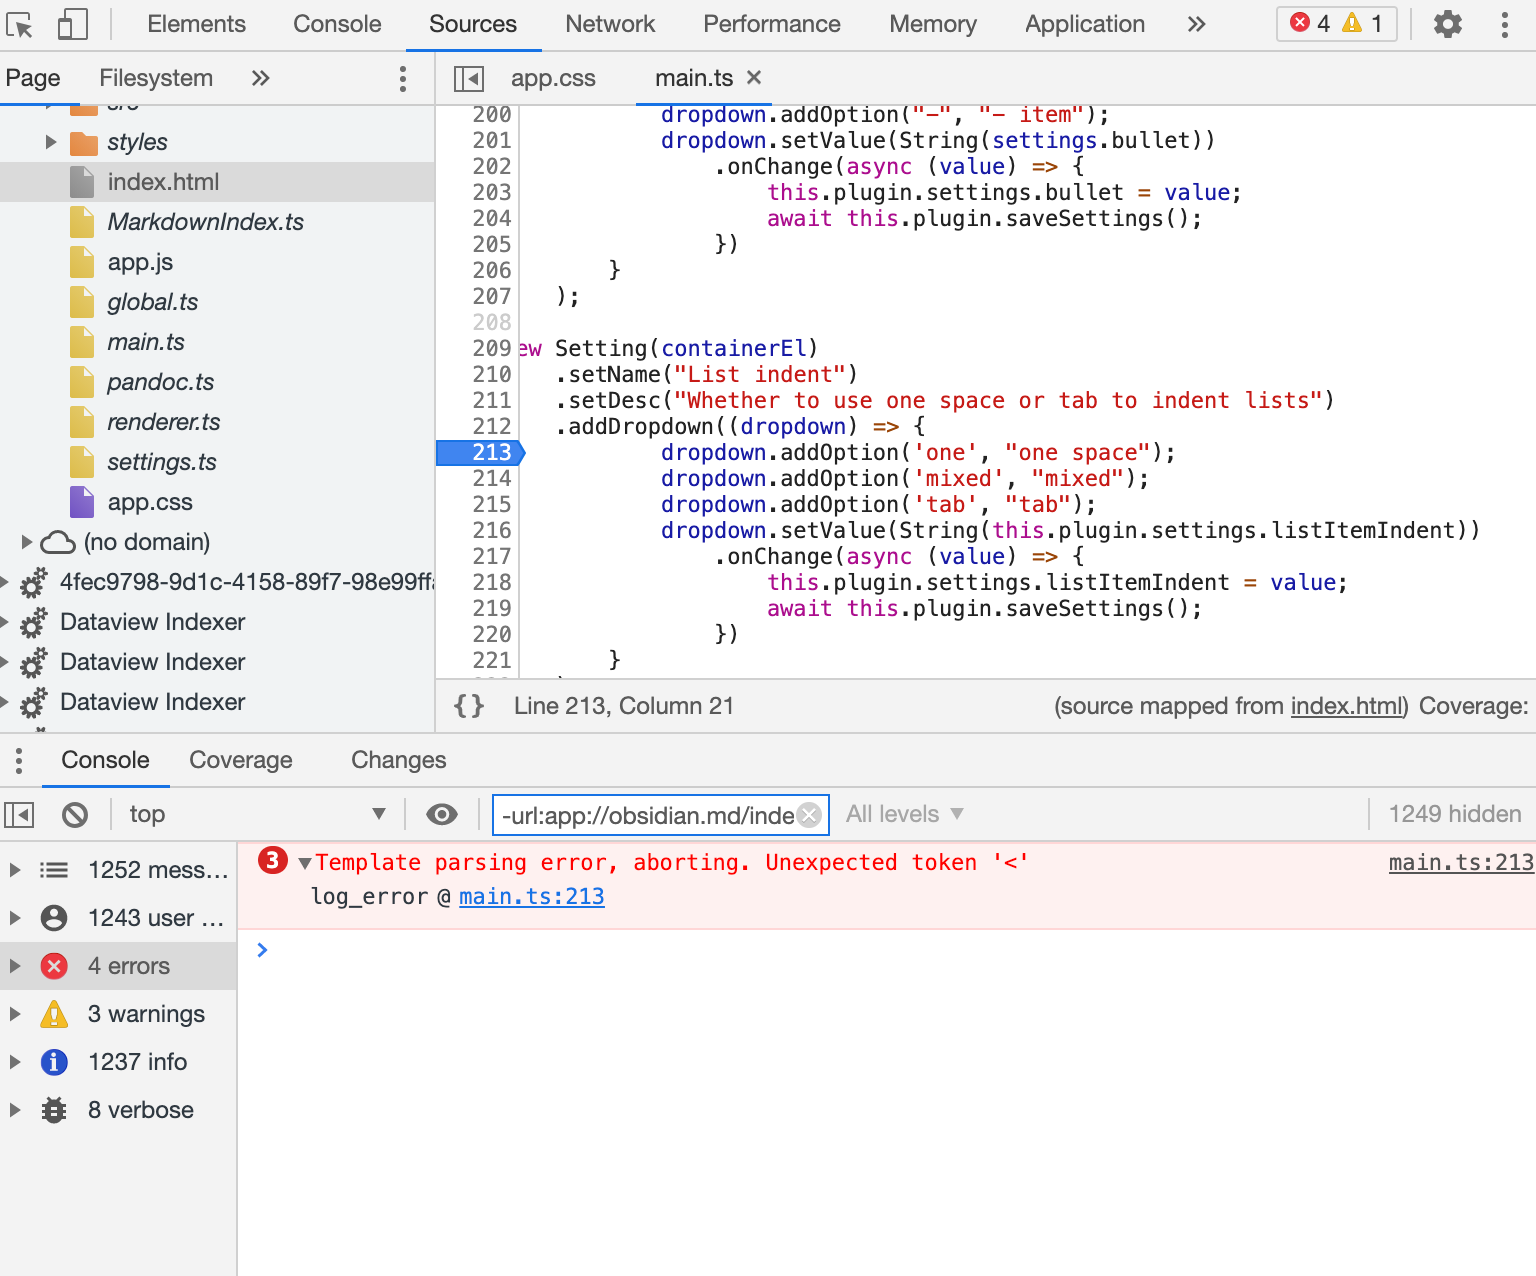
Templater Scripts
The templater scripts are used to process all the notes that have been created using the quick capture system above (though it will work on notes created in any way!). The idea is to open a note in a folder, and then process each note in the folder until you are done by either archiving the note to a set folder, trashing the note, or moving the note to a different folder besides the archive folder. The script automatically opens the next note in the folder after the previous note has been processed.
To get started, first install and enable the templater if you have not already. In the templater settings, choose a folder where you will store the templates. Copy and paste the archive/move and trash templates from Github into fresh markdown files in your templates folder. Create two identical files with the archive/move script in it. Keep one as it is (this will be your move folder script), but modify the archivePath variable in the second one to be your desired archive folder. This will then be your archive script. Name your two files accordingly to keep track of them.
To speed everything up, use the hotkeys for templates plugin to assign custom hotkeys to these scripts. To do so, install and enable the hotkeys for templates plugin, and enable the hotkeys for each of the three templater scripts. Then, in the hotkeys settings, enable hotkeys for your scripts. I use opt+A for archive opt+D for trash, and opt+M for move.
Conclusion
This process has made it very quick for me to process my notes throughout the day. Big thanks to TfTHacker for helping me set up the system, and happy to answer questions about the setup.