Thanks, this is excellent.
This is my current CSS. Adding back the cursor blink with a 2 second delay after typing stops before the blinking resumes. The delay gives me time to think. The blinking is impatiently waiting for more words. Helps me with longform writing.
/* iAWriter-ish style. The cursor colour in a light theme */
.theme-light .x-cursor {
    opacity: 1;
    background: #00bbff;
    width: 4px;
    left: -1px;
    top: -2px;
    height: calc(6px + var(--cursor-height));
    transition: opacity;
    top: calc( -6px - var(--header-height));
}

/* iAWriter-ish style. The cursor colour in a dark theme */
.theme-dark .x-cursor {
    opacity: 1;
    background: #2c95b4;
    width: 4px;
    left: -1px;
    top: -2px;
    height: calc(6px + var(--cursor-height));
    transition: opacity;
    top: calc( -6px - var(--header-height));
}


.cm-editor * {
    caret-color: transparent !important;
}


/* Disable movement effect */
.cursorWrapper .x-cursor::after {
    display: none;
}


/* Blinking */

.cursorWrapper .x-cursor0,
.cursorWrapper .x-cursor1 {
    animation: blink1 1s 0s both infinite;
    animation-delay: 2s;
}


@keyframes blink1 {
    0% {
        opacity: 1;
    }

    45% {
        opacity: 1;
    }

    50% {
        opacity: 0.2;
    }

    65% {
        opacity: 0;
    }

    95% {
        opacity: 0;
    }

    100% {
        opacity: 0.2;
    }
}
5 Likes
I noticed that on iOS, the regular cursor keeps blinking ‘behind’ the new, non-blinking (in my setup), thicker one. Only on iOS, not on desktop. This seems strange.
The Ninja Cursor tweak works great, thank you! However, it is strange to me that an app that is all about writing doesn’t have a proper, easily noticeable and customizable cursor by default.
4 Likes
The Ninja Cursor animation does eat up quite a bit of CPU though, so I disabled it… I think a bigger colorful static cursor is still more noticeable than the default blinking one.
Also just noticed the cursor doesn’t move along when headings jump to the right showing the hash symbols, when you use the mouse to place the cursor. Really wish there was a less hacky way to do this :-/
Where are you putting these styles? It has no impact when I add it to custom.css (but other styles in that file appear to be working).
2 Likes
Hello. Thanks to you, I got acquainted with the plugin for the cursor, and a special thanks for the code for setting it up.
Tell me, is it possible to somehow change the code so that the wide cursor does not overlap the letter, but looks like in the screenshot that I attached? I am very far from the code, and yesterday I searched for 2 hours on this forum, reddit, and even in the css tutorial how to do this, but i couldn’t do it the way i want.
Thank you very much in advance if you can answer me.
Maybe try it with the default theme, and turn off other snippets as a test.
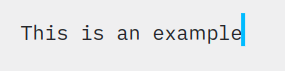
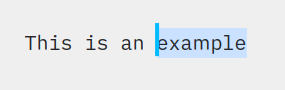
This is what mine looks like. Using minimal theme. Sometimes I use default theme. On the second image, selecting text, I see a little bit of overlap. I’m using 4px for cursor width. My font size is 20. My zoom level is 100%. If you are making the cursor wider and the font is smaller you would probably get more overlap. So increasing the font size would help.
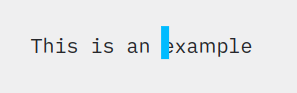
Here is what it looks like when I change the width to 8px, so I guess making a block width doesn’t work great. At least it’s not a single pixel wide.
That’s cool. Over all this is kind of a hackish way to get a bigger/brighter cursor. Might not be worth it for everyone.
Hello. What you show in the screenshots is exactly what I’m trying to solve - I’m trying to make a more visible and wider cursor that doesn’t overlap the text.
I saw a guy’s theme where the cursor looks like this, but I don’t like the theme at all (and I don’t know how to find his theme) and I also use the minimal theme.
In my searches, I even got to a site with css guides (the guy above gave a link to it) and tried to embed code from them into the code you cited above, but nothing happened (as I already wrote, I don’t know how to code).
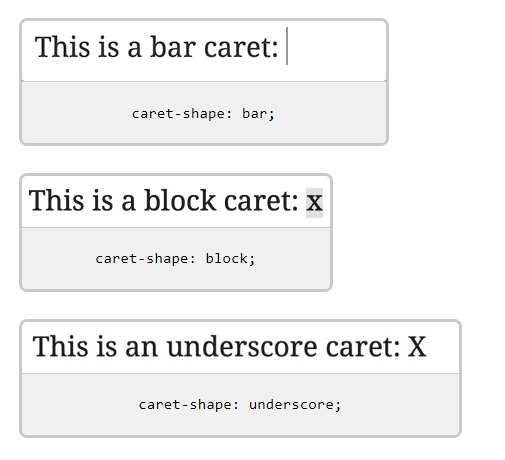
Formally, what I’m trying to achieve is a block cursor like in the screenshot (a wide, visible one that highlights the whole character and doesn’t overlap it).
The only thing I found close to what I want is your plugin and your code described here. And I agree - it’s a hell of a lot of effort for such a banal but necessary feature )) Thanks again for the plugin and help, by the way, you’re cool!
However, now that we seem to understand each other quite well. Is it possible to do what I want with your plugin, or should I give up and hope that one day the obsidian developers will introduce such a feature themselves? Logically, if such a solution is sewn into one of the themes, it should be realizable right?
If you give me a direction where to look or even help with such a code, I would be just happy!
1 Like
To clarify, that’s not my plugin or my code. I just use the plugin this way.
But to answer your question I don’t believe caret-shape is recognized yet. Someone else mentioned this above. Hopefully in an update.
For now you can try this. Make as wide as you need. Use an rgb color picker to find the color you want, keep the a value at 0.5. The RGB numbers are for the color and A is the alpha channel (opacity).
You might have to change left from -1px to something else to adjust the offset. Here is what mine looked like when messing around with it.
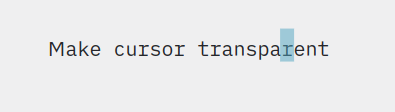
    background: rgba(78, 163, 191, 0.5);
    width: 14px;
    left: -1px;
1 Like
Indeed, something I got confused with this, the creator of the ninja cursor - vorotamoroz.
In any case, you helped me make everything exactly the way I wanted. Thank you very much!
I asked for help in the CodeMirror forum (Making the (text) cursor more noticeable - discuss.CodeMirror) and apparently this should be easy to do in CodeMirror. But, I guess Obsidian just blocks the CSS or something? (Sorry, I don’t really know much about CSS…) If so, shouldn’t it be easy to just enable access to the element?
Also… why is this thread tagged “editor-legacy”, when this problem concerns the new editor? I don’t think you can call modifying cursor style a legacy feature.
For those who came here looking for a way to disable blinking, and the shared snippets didn’t work, here’s the solution as of the time of this post:
.cm-cursorLayer {
  animation: none !important;
}
1 Like
none of these do anything for me and it’s making me sooooo sad
hope this becomes an official feature someday
Are you using the Ninja Cursor plugin? Most of the newer snippets are for that specific plugin’s cursor. It also might not work if you’re in VIM mode. For example, try the Serenity theme with Ninja Cursor installed and in Style Settings go to Plugins > Ninja Cursor and enable iA-style cursor.
1 Like
I installed Ninja Cursor, and putting some code from @TRU above had an effect, but definitely not an intended one. It made a phantom cursor that only appears when using the arrow keys to navigate, and 3 lines above the cursor lol
Also I’m a die hard Wikipedia theme user so fangirling a little rn
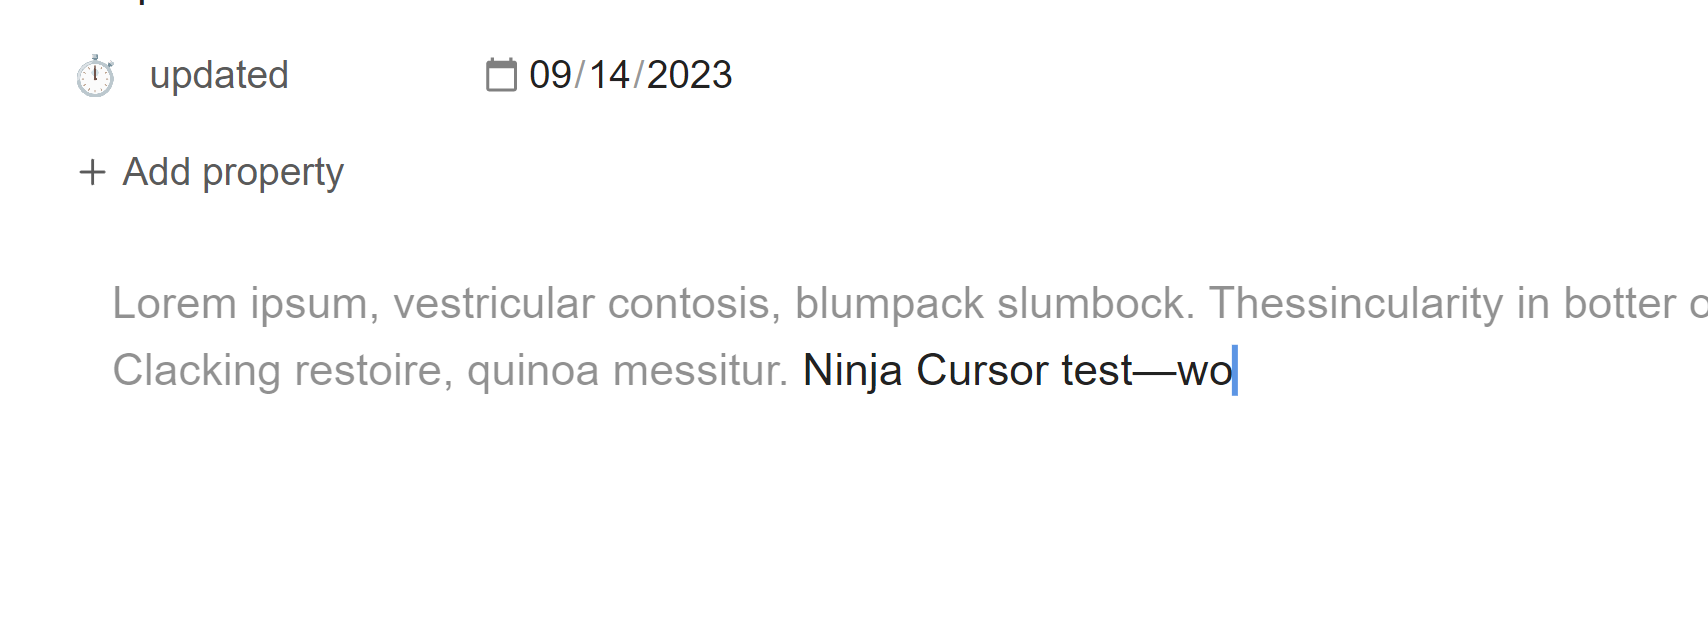
Try this snippet. It should align the cursor correctly, and it includes style settings options for cursor thickness, animation, and color. I tried to make it blink only when the user is not typing, but it doesn’t always work as intended.
/* cursor effect with Ninja Cursor plugin */
/* inspired by iA Writer */
body {
    --cursor-width: 2.5px;
    --cursor-color: var(--interactive-accent);
}

/* main cursor appearance */
.cursorWrapper .x-cursor {
    opacity: 1;
    background: var(--cursor-color);
    width: var(--cursor-width);
    left: -1px;
    position: relative;
    top: calc( calc(var(--font-text-size) * -0.01) - var(--header-height));
    height: calc(var(--cursor-height) + 1px);
    transition: opacity;
}
/* remove flashing */
 .cursorWrapper .x-cursor::after{
    display: none;
}
.cm-cursorLayer {
    animation: none !important;
    visibility: hidden !important;
}


/* cursor animation */
.cursorWrapper .x-cursor1 {
    animation: step-end cursorblink-alt 0.95s 0s both infinite;
}
 .cursorWrapper .x-cursor0 {
    animation: step-end cursorblink 0.95s 0s both infinite;
}

.cursor-tween .cursorWrapper .x-cursor0{
    animation: cursorblink2 0.9s 0s both infinite;
}

.cursor-tween .cursorWrapper .x-cursor1 {
    animation: cursorblink-alt 0.9s 0s both infinite;
}


@keyframes cursorblink-alt {
0% {
opacity: 1;
}
100% {
    opacity: 1;
}
}
@keyframes cursorblink {
    0% {
        opacity: 1;
    }
    50% {
        opacity: 0;
    }
}

@keyframes cursorblink2 {
    0% {
        opacity: 1;
    }
    30% {
        opacity: 1;
    }
    80% {
        opacity: 0;
    }
    100% {
        opacity: 1;
    }
}
/* remove normal cursor when ninjacursor is installed */
body:has(.x-cursor) .cm-editor * {
caret-color: transparent;
}

/* @settings
name: Ninja Cursor
id: ninja-cursor-snippet
settings:
    -
        id: cursor-tween
        title: Tween Cursor Animation
        description: Give the blinking cursor a smooth opacity transition.
        type: class-toggle
        default: false
    -
        id: cursor-width
        title: Cursor Thickness
        description: Control the cursor thickness
        type: variable-number-slider
        default: 2.5
        min: 0.5
        max: 4
        format: px
        step: 0.5
    -
        id: cursor-color
        title: Cursor Color
        type: variable-select
        default: var(--interactive-accent)
        allowEmpty: false
        options:
            -
                label: Interactive Accent
                value: var(--interactive-accent)
            -
                label: Red
                value: var(--color-red)
            -
                label: Orange
                value: var(--color-orange)
            -
                label: Cyan
                value: var(--color-cyan)
            -
                label: Blue
                value: '#00b2ff'
            -
                label: Purple
                value: var(--color-purple)
            -
                label: Pink
                value: var(--color-pink)
            -
                label: Faint Text
                value: var(--text-faint)
            -
                label: Muted Text
                value: var(--text-muted)
            -
                label: Text
                value: var(--text-normal)
    -

*/
Also, glad you’re enjoying the Wikipedia theme. I’ve always loved the look of Wikipedia so I had to make it a theme ![]()
5 Likes
This is almost impossible since they removed custom cursor support from obsidian.