By the end of this tutorial, you’ll have a github repository that will automatically publish notes to your custom website everytime you upload new notes to the publish folder.
")
Step-by-step instructions to setup your blog
- Fork the repository linked-blog-starter-md repository. This repository is where the publishing occurs

- Create a Vercel account then go to your dashboard then (Add New… > Project)
- Import the repository you just forked
- In the “Configure Project” settings (before you deploy), set the “Framework Preset” to Next.JS . Then click the “Deploy” button.
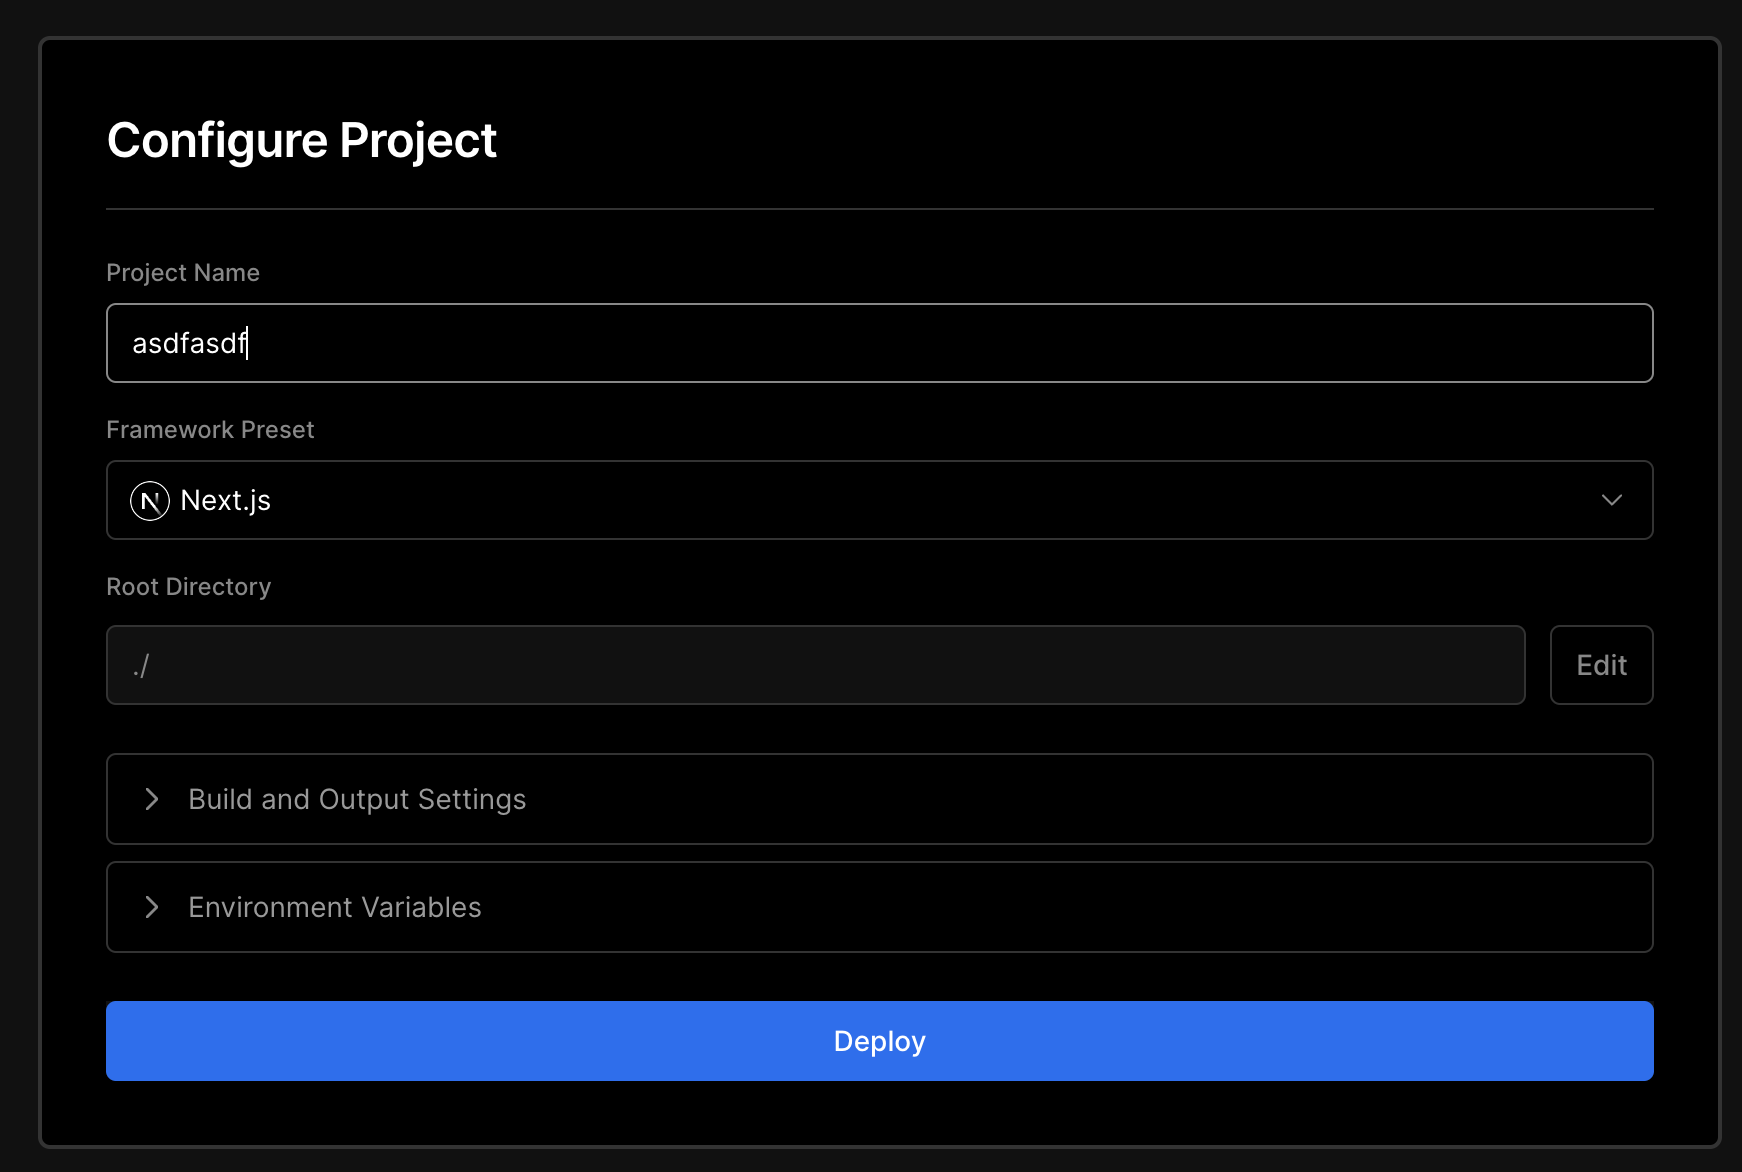
- After clicking the Deploy button, you’ll see that the deploy failed. That’s as expected.
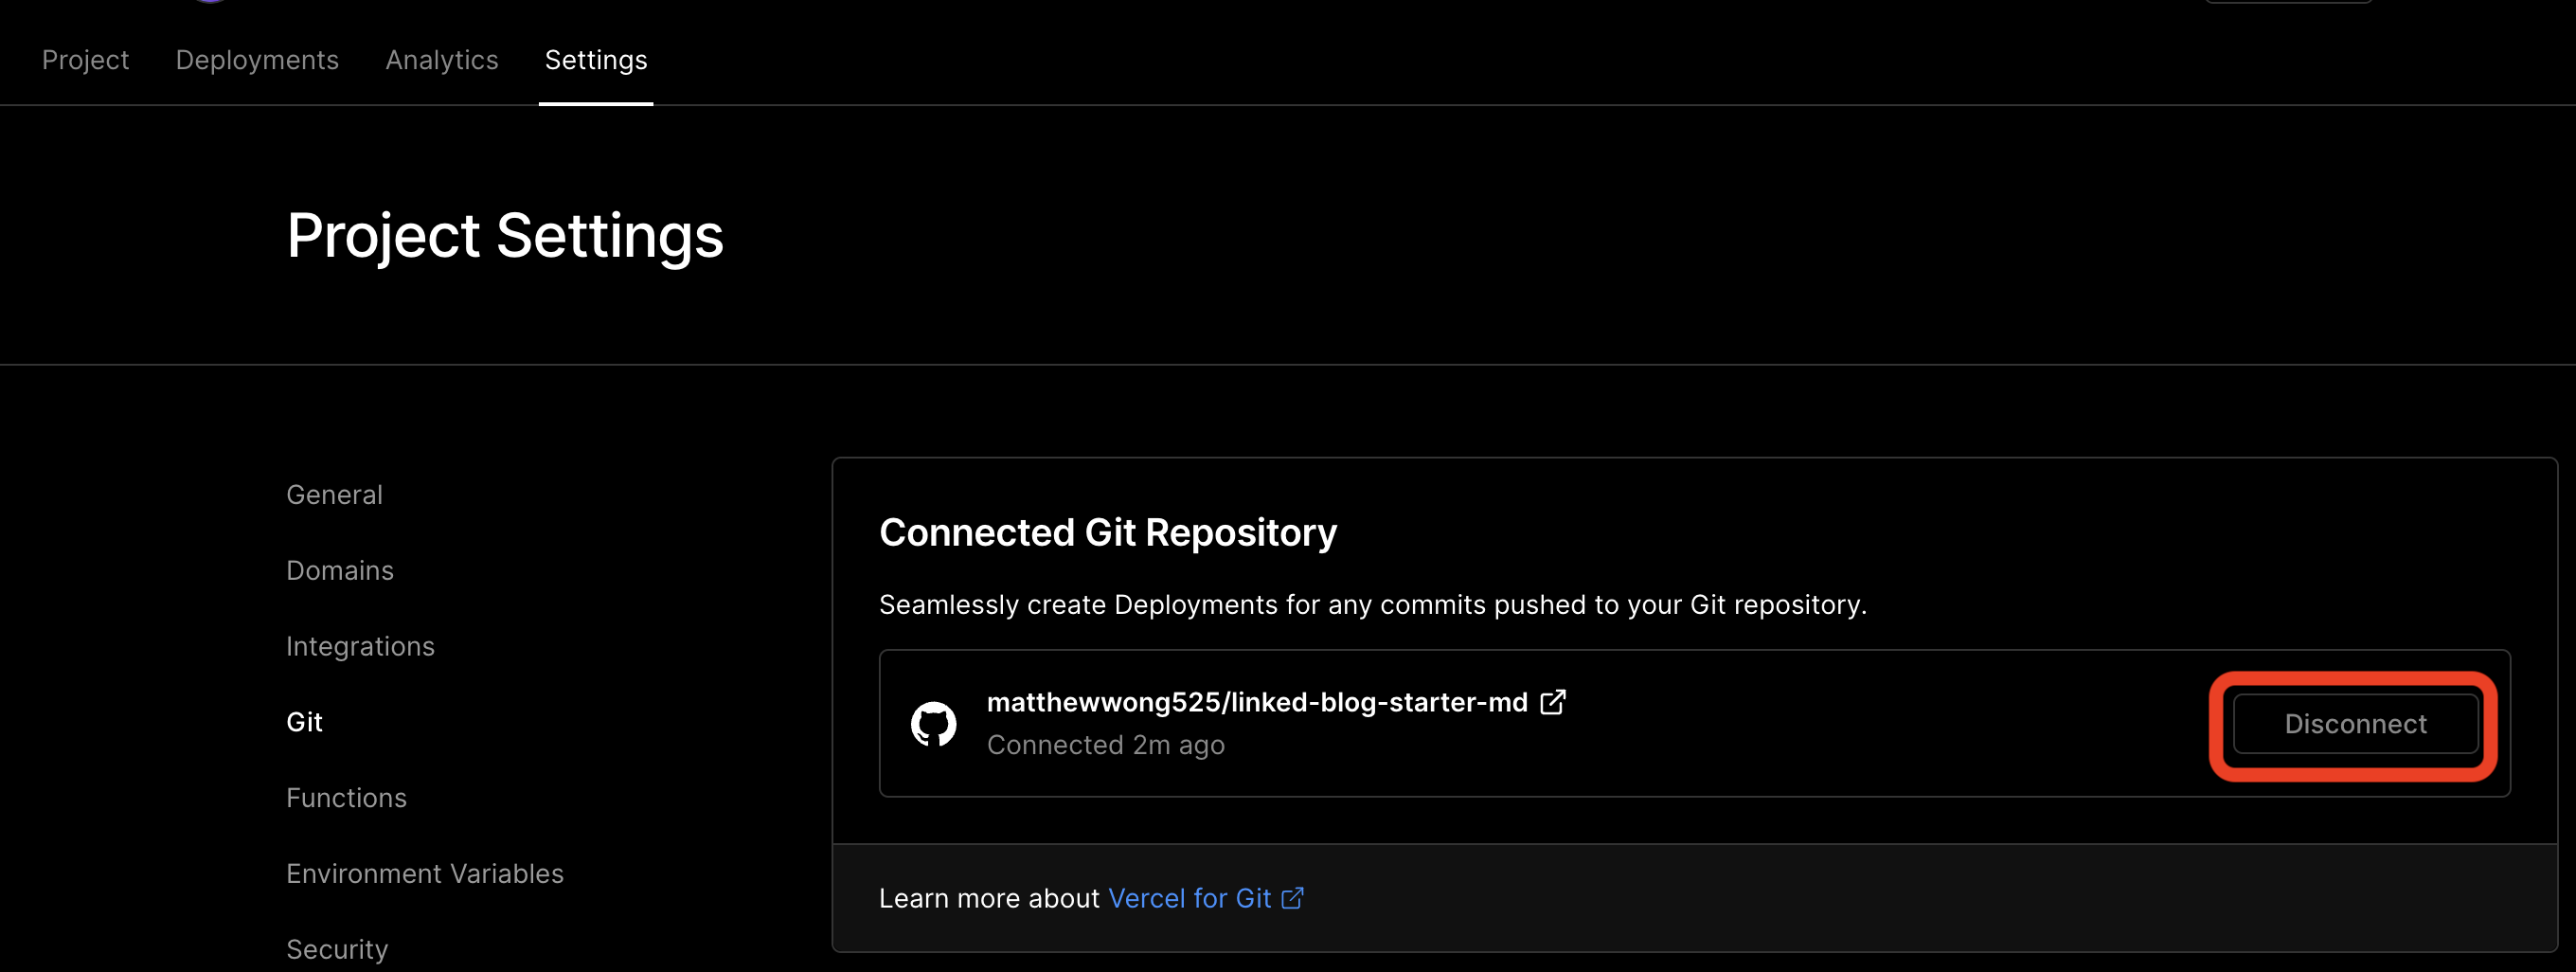
- OPTIONAL: Go to your dashboard, then click on the project you created and disconnect the git repository (Settings > Git > Disconnect)
- Then, get the account id, project id and token from vercel
- Now with the account id, project id, and token, go back to your forked repository and update Github secrets (Settings > Secrets > Actions). Add the following secrets:
VERCEL_ORG_ID,VERCEL_PROJECT_ID,VERCEL_TOKEN
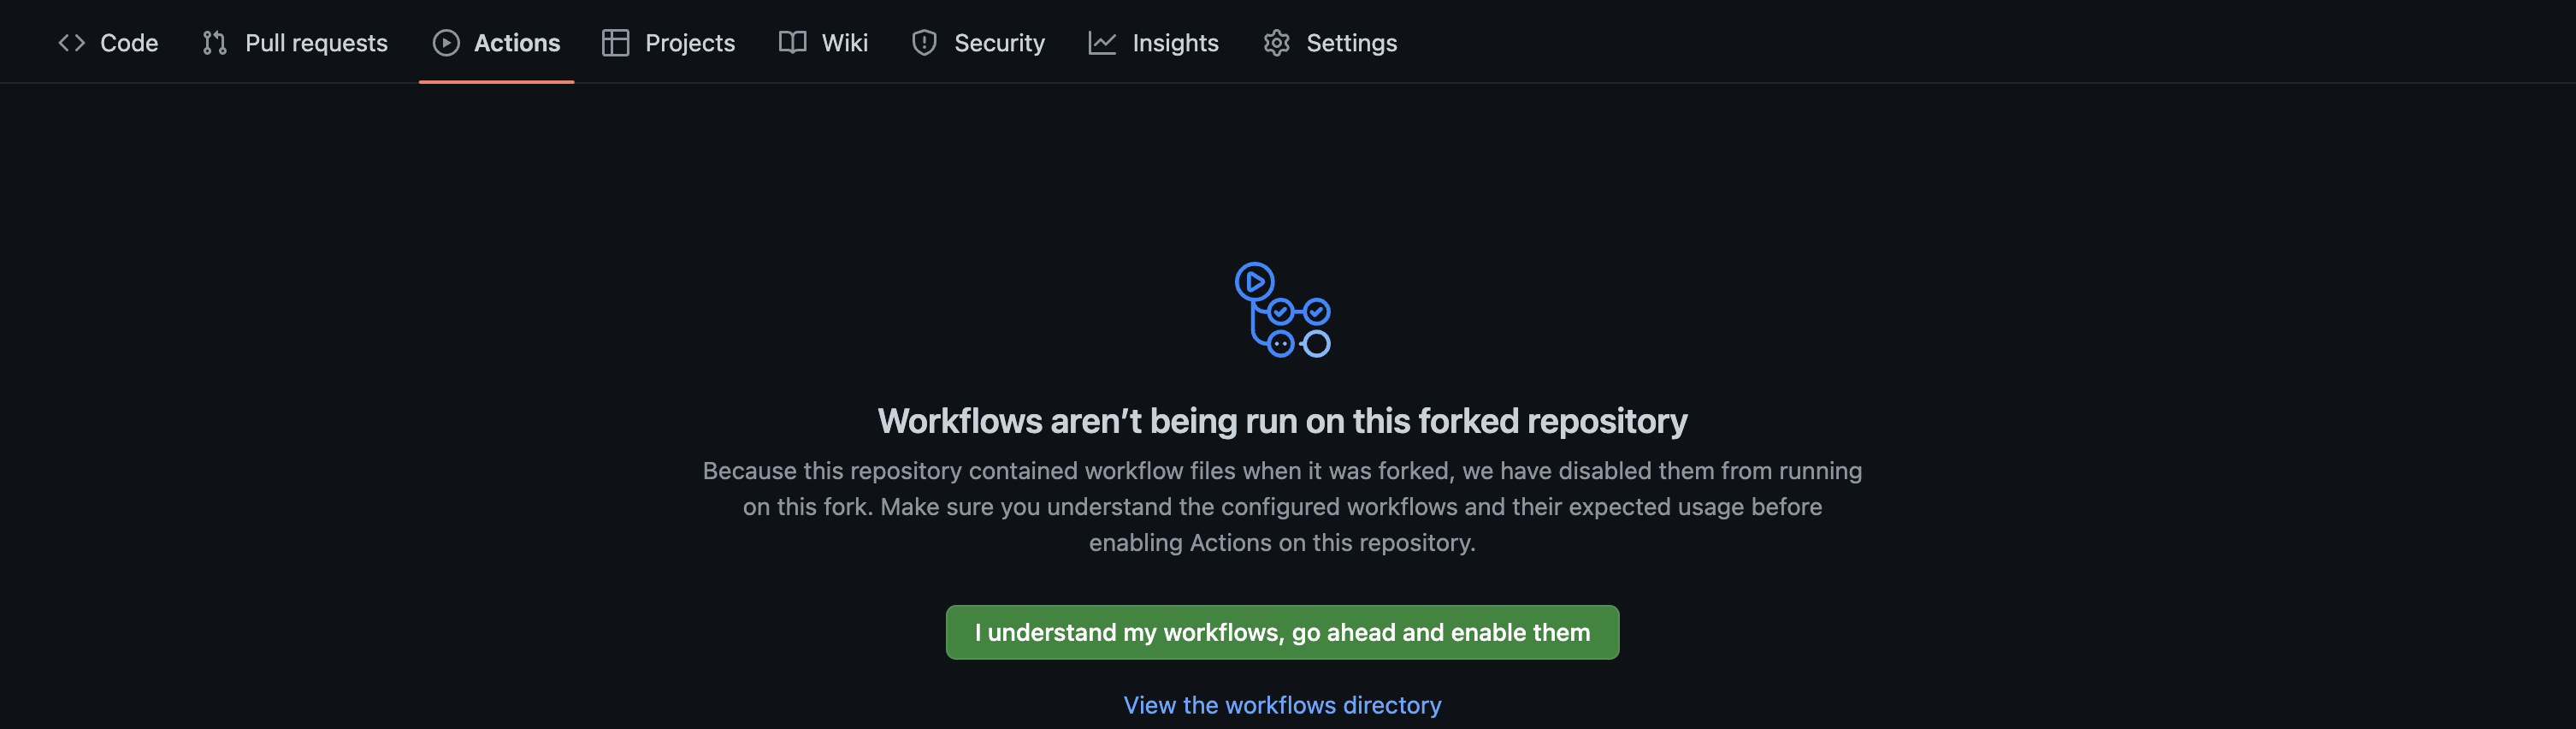
- Finally, click “Actions”, and enable the workflow
- Now whenever any notes are uploaded to the
publishdirectory of the repository, they are automatically published online! You can find the domain in Vercel underProjects.
Note: Make sure you don’t delete the /publish/home.md file as that is your “landing page”
Optionally, you can:
- Publish Notes within your Obsidian Vault by installing the Obsidian Git plugin
- Update the publish settings to publish your notes to a custom version of the linked-blog-starter