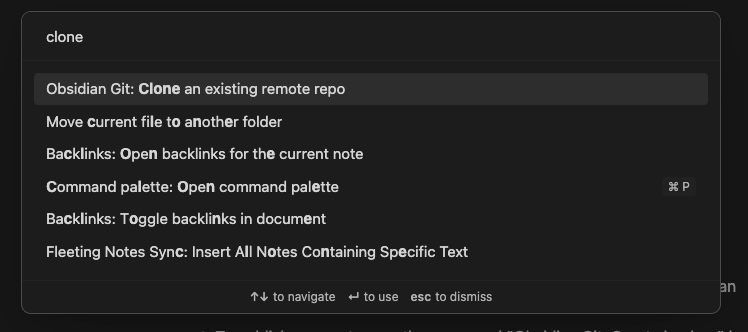
I watched a few videos on how to setup the obsidian-git plugin and it feels like most of them overcomplicate the process. So I decided to write a set of instructions and a video to show how easy it to accomplish this even if you have no idea what “git” is.
By the end of this tutorial, you will be able to sync your notes from Obsidian to Github for free!
I’m driving Linux, but this will work on Mac if you are comfortable with the terminal.
I have my laptop connected to Github via SSH. I then re-cloned my GH repo for my vault using SSH instead of HTTPS. Now it pulls/pushes without prompting for uname/passwd.
Thanks for your helpfull thread. I think there’s a mistake here at 5.
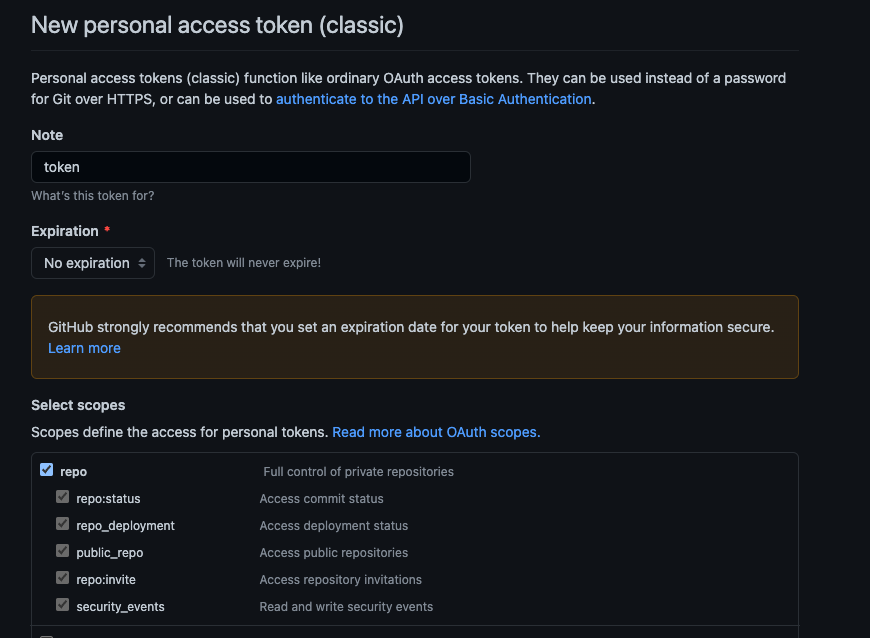
“Set scopes to repo & expiration to no expiration”
should be after :
“3. Create a personal access token from github”
It happened to me. Maybe you didn’t set “repo” when creating the token, the note in Github documentation (managing your personal access tolkens):
Note
Organization owners can restrict the access of personal access token (classic) to their organization. If you try to use a personal access token (classic) to access resources in an organization that has disabled personal access token (classic) access, your request will fail with a 403 response. Instead, you must use a GitHub App, OAuth app, or fine-grained personal access token.
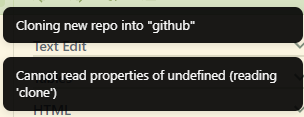
Ok issue was that I did not have git installed on my machine but now cloning is working but when creating the clone folder inside my obsidian, succeeding than restarting obsidian it says :
")