@Rainbow_CH Can you provide the details on how you achieved this effect? I’m very interested in combining spaced repetition with Obsidian and this could be a big step in that direction. Thanks!
I added code to set the color of the dropdown box in the Obsidian settings window (Cmd/Ctrl + ,).
You can find in the Settings buttons colour section on Github page, linked to in the OP at the top of this page.
Enjoy.
@Neigh has showcased a simple way to embed a video in a notes. The code works for other videos besides YouTube too.
He has kindly allowed me to add his code to the Github repository.
You can find it in the chapter Embeds, section ## Videos.
The Github repository page link is given in the OP at the top of this page.
Enjoy.
Further to my earlier post ("How to achieve" CSS code snippets) about the dropdown box color in the settings, I have now added the code to change the arrow color in the dropbox too. The location is the same.
@Neigh provided code to add emojis to the folder name.
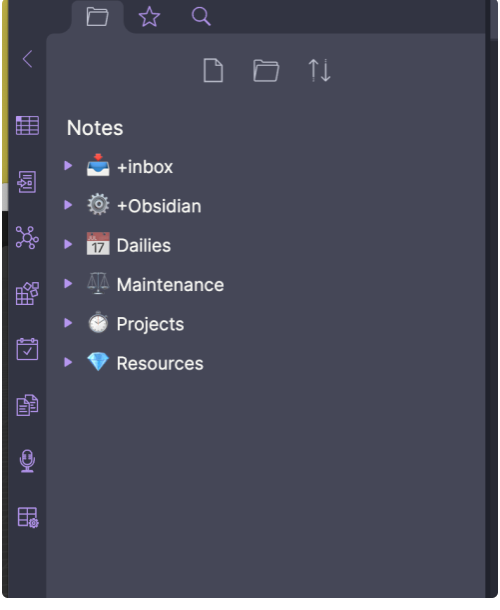
Scroll to the bottom of the File explorer - Obsidian section on Github page, linked to in the OP at the top of this page.
Enjoy.
4 Likes
Some people prefer rectangular tag pills with rounded corners rather than rounded tag pills. I added comments in the Github repo of how to do that - very simple.
The Github repository page link is given in the OP at the top of this page.
Enjoy.
I added the CSS for left aligned image.
div[src$="#side"] {
  position: relative;
  float: left;
  width: 35%;
  margin-top: 5px;
  margin-left: 10px;
  margin-right: 12px;
}
In note I have:
![[Image.png#side]]
But image remains as it is… Is this feature already dead in Obsidian 0.11.3?
I think it broke on the 0.11.1 or 0.11.2. Was working great before that.
@den - Somewhere around 0.10.10 they moved images from a div element to a span element, so they would render inline.
It’s probably more complicated than this - but you could try changing the div in your code to span and see what happens. If that doesn’t work, it’ll require a little more work.
Amazing, now it work! Thank you for quick fix.
@Lithou Thank you for inspiration!
Thanks for the clue on changing the div to span. It fixes the issue.
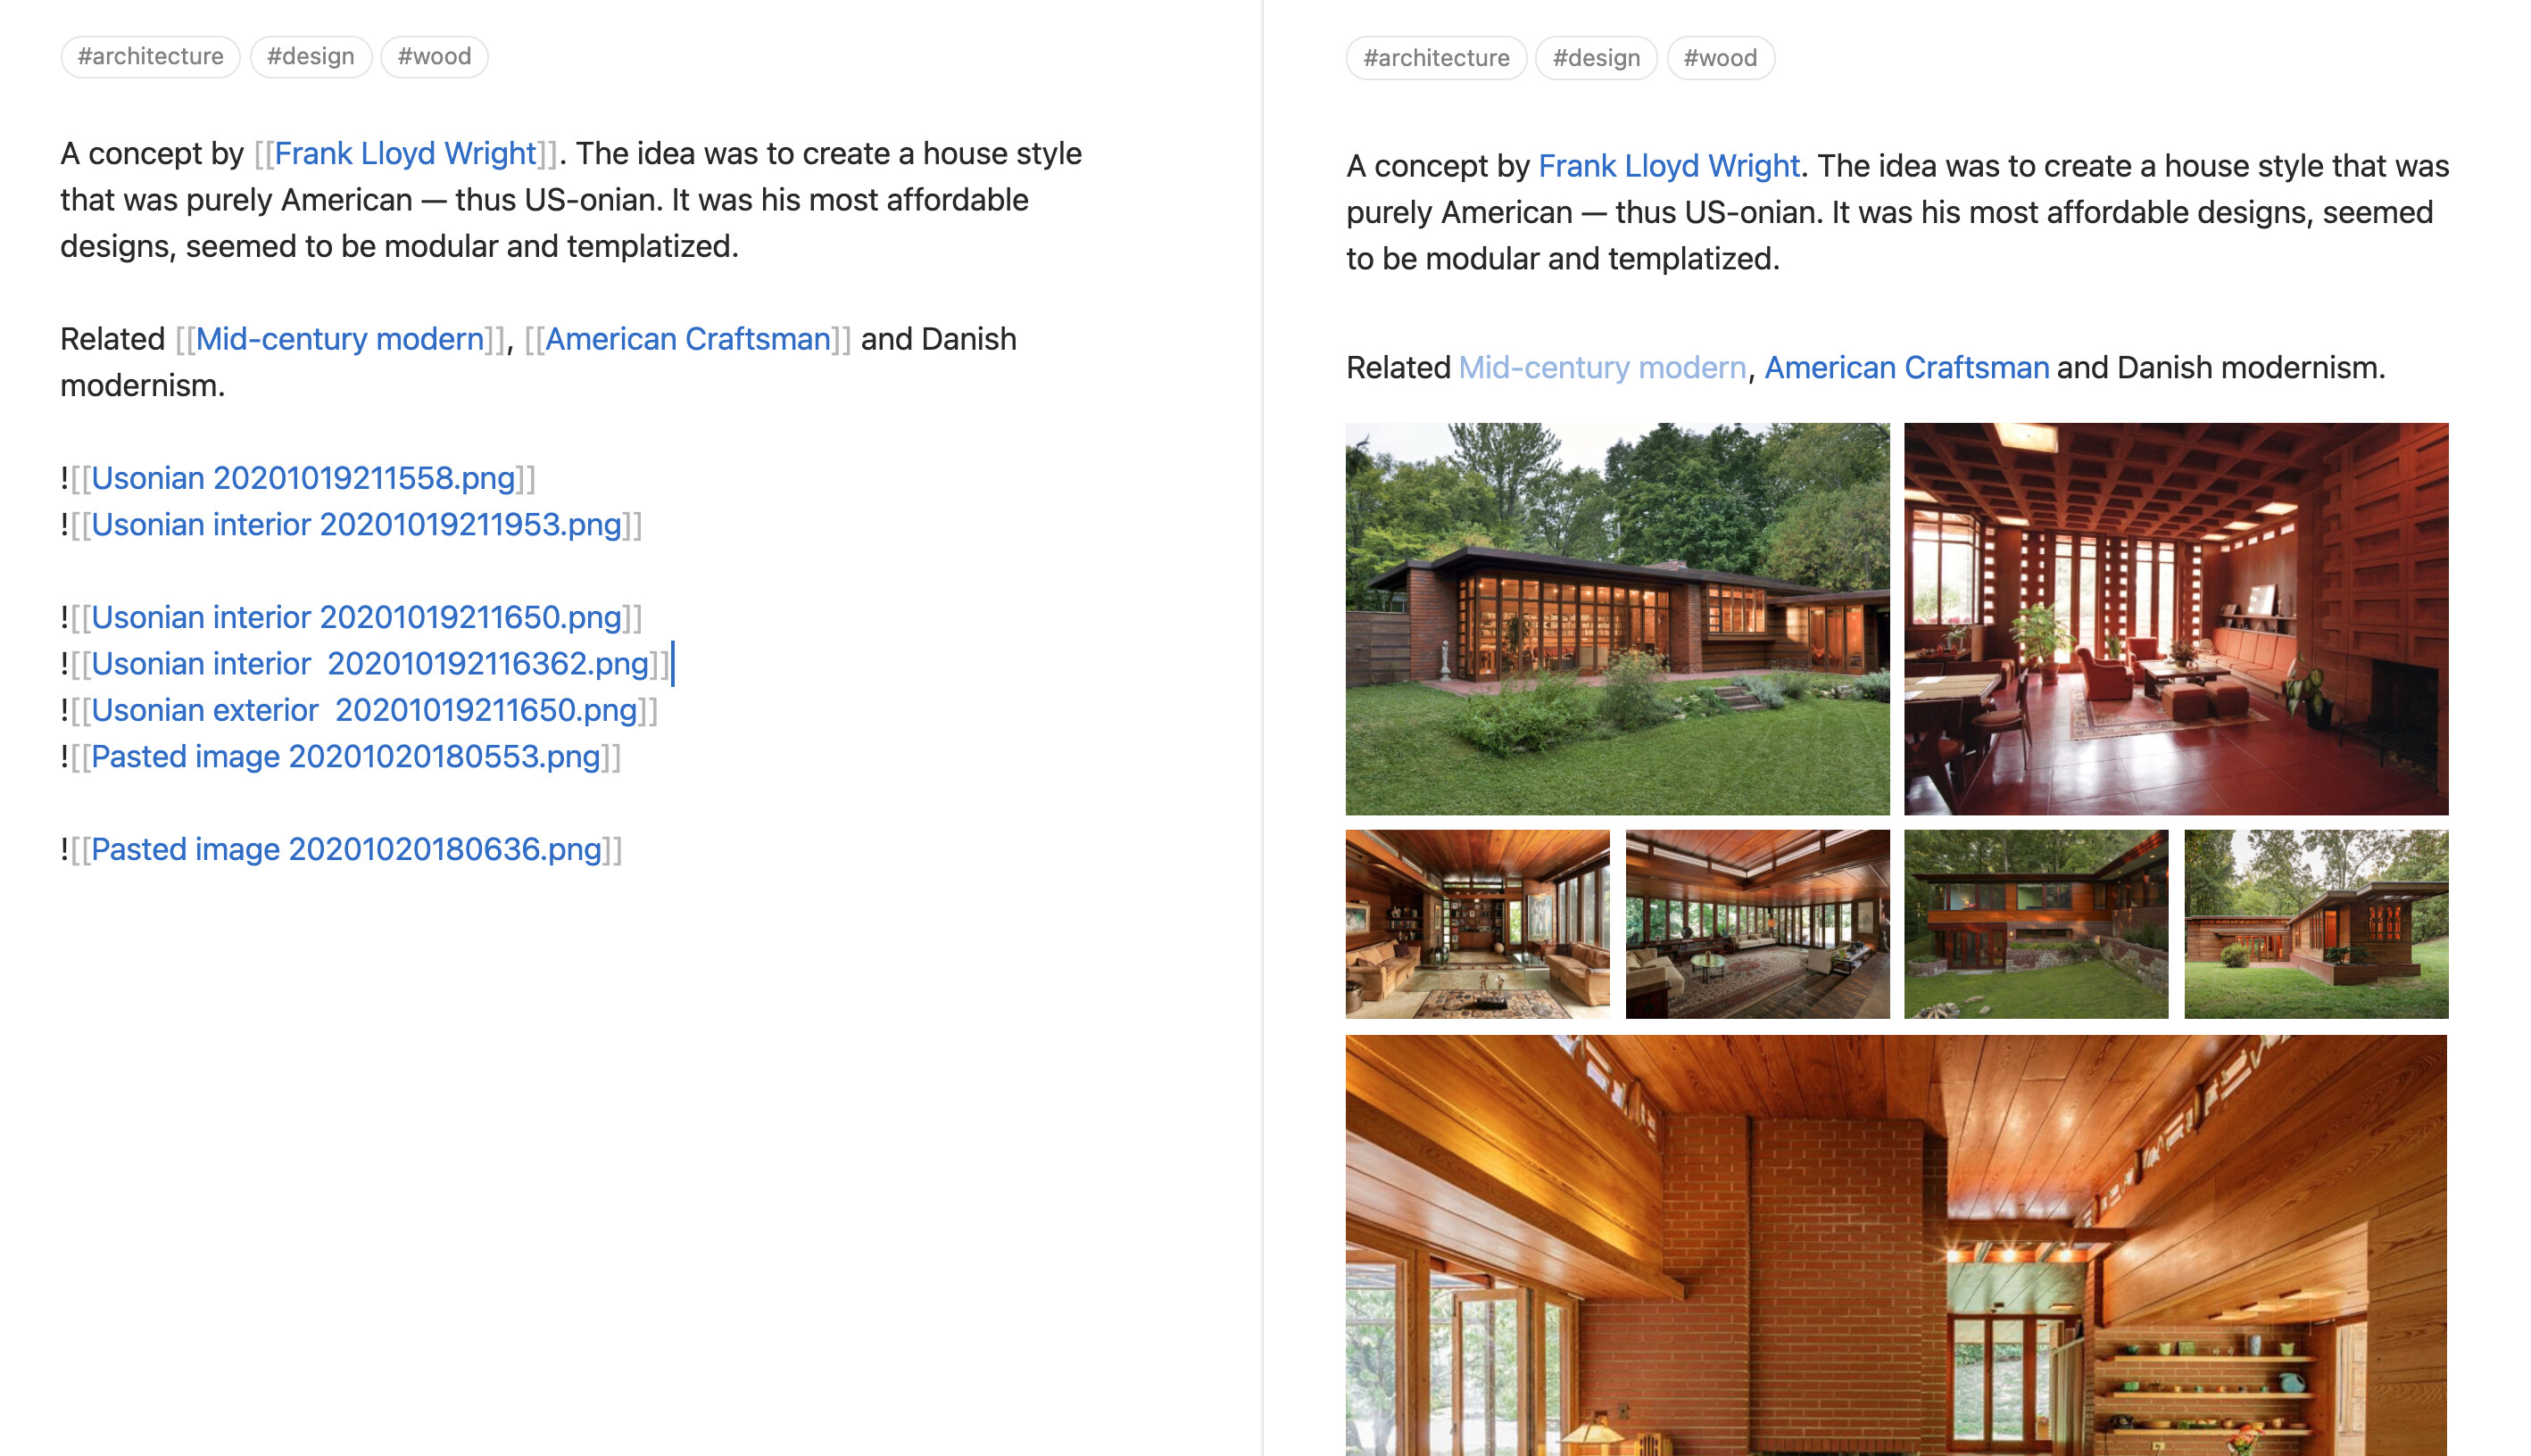
Image Flags Update (also img-grid)
As others have pointed out, an obsidian update changed images from being inside a block level element “div” to an inline element “span” which initially broke all of the image flags. I did a quick update that fixed most of them. Some, however, relied on the functionality of a div and so I needed to find a way around that…
Another issue with the change is that it broke the img-grid that many people were using. Many said it wasn’t able to be fixed, but I have accepted that challenge.
So with that, I am happy to announce that I have a new version of image flags uploaded now with 100% more img-grid.
The image grid should work the way people are used to. The only change is how it is called from Obsidian edit mode. The images are separated by line returns instead of blank lines. The preview result should be very similar, however.
I set it up to work with image flags or by itself. You can use the flag and combine flags if you want or just apply the image grid for a page with the cssclass. See documentation for specifics (link below)
Installing:
The CSS snippet includes all of the image flags as well as the img-grid code and can be found here: Sandbox/pub-Image Flags.css at main · Lithou/Sandbox · GitHub
You can grab the whole thing if you want. If you want the image grid by itself you can grab that (it’s at the bottom) and throw it in a snippet.
You can also clone my entire Github repo and open it as a vault in obsidian to play around with the options. The repo is found here: GitHub - Lithou/Sandbox: Testing and Experimentation for Obsidian and CSS
Further Documentation
You can find the Image Flags Documentation here: Image Flags (Core Documentation) - Obsidian Publish
The Documentation for Img-Grid can be found here: Grid Display Testing - Obsidian Publish
7 Likes
Really great work.
How to batch add “-med” to all images ?
I have added code showing how to change the color of bold and italic text to the Github repository. You can find it at the bottom of the file Fonts.
The Github repository page link is given in the OP at the top of this page.
Enjoy.
If you use footnotes, you may have noticed that the supscripted footnote number widens the line a bit.
@phlind has kindly provided a simple block of code to correct this, and I have added it to the Github repository, file Footnotes. The link to the repository is given in the OP at the top of this page.
Enjoy.
1 Like
Hey @Lithou,
I’m a noob with code, with no knowledge. Is it possible to achieve this result? Like with the side-by-side grid?
Right now mine shows up like this, with your code stored at the bottom of the github link you attached:
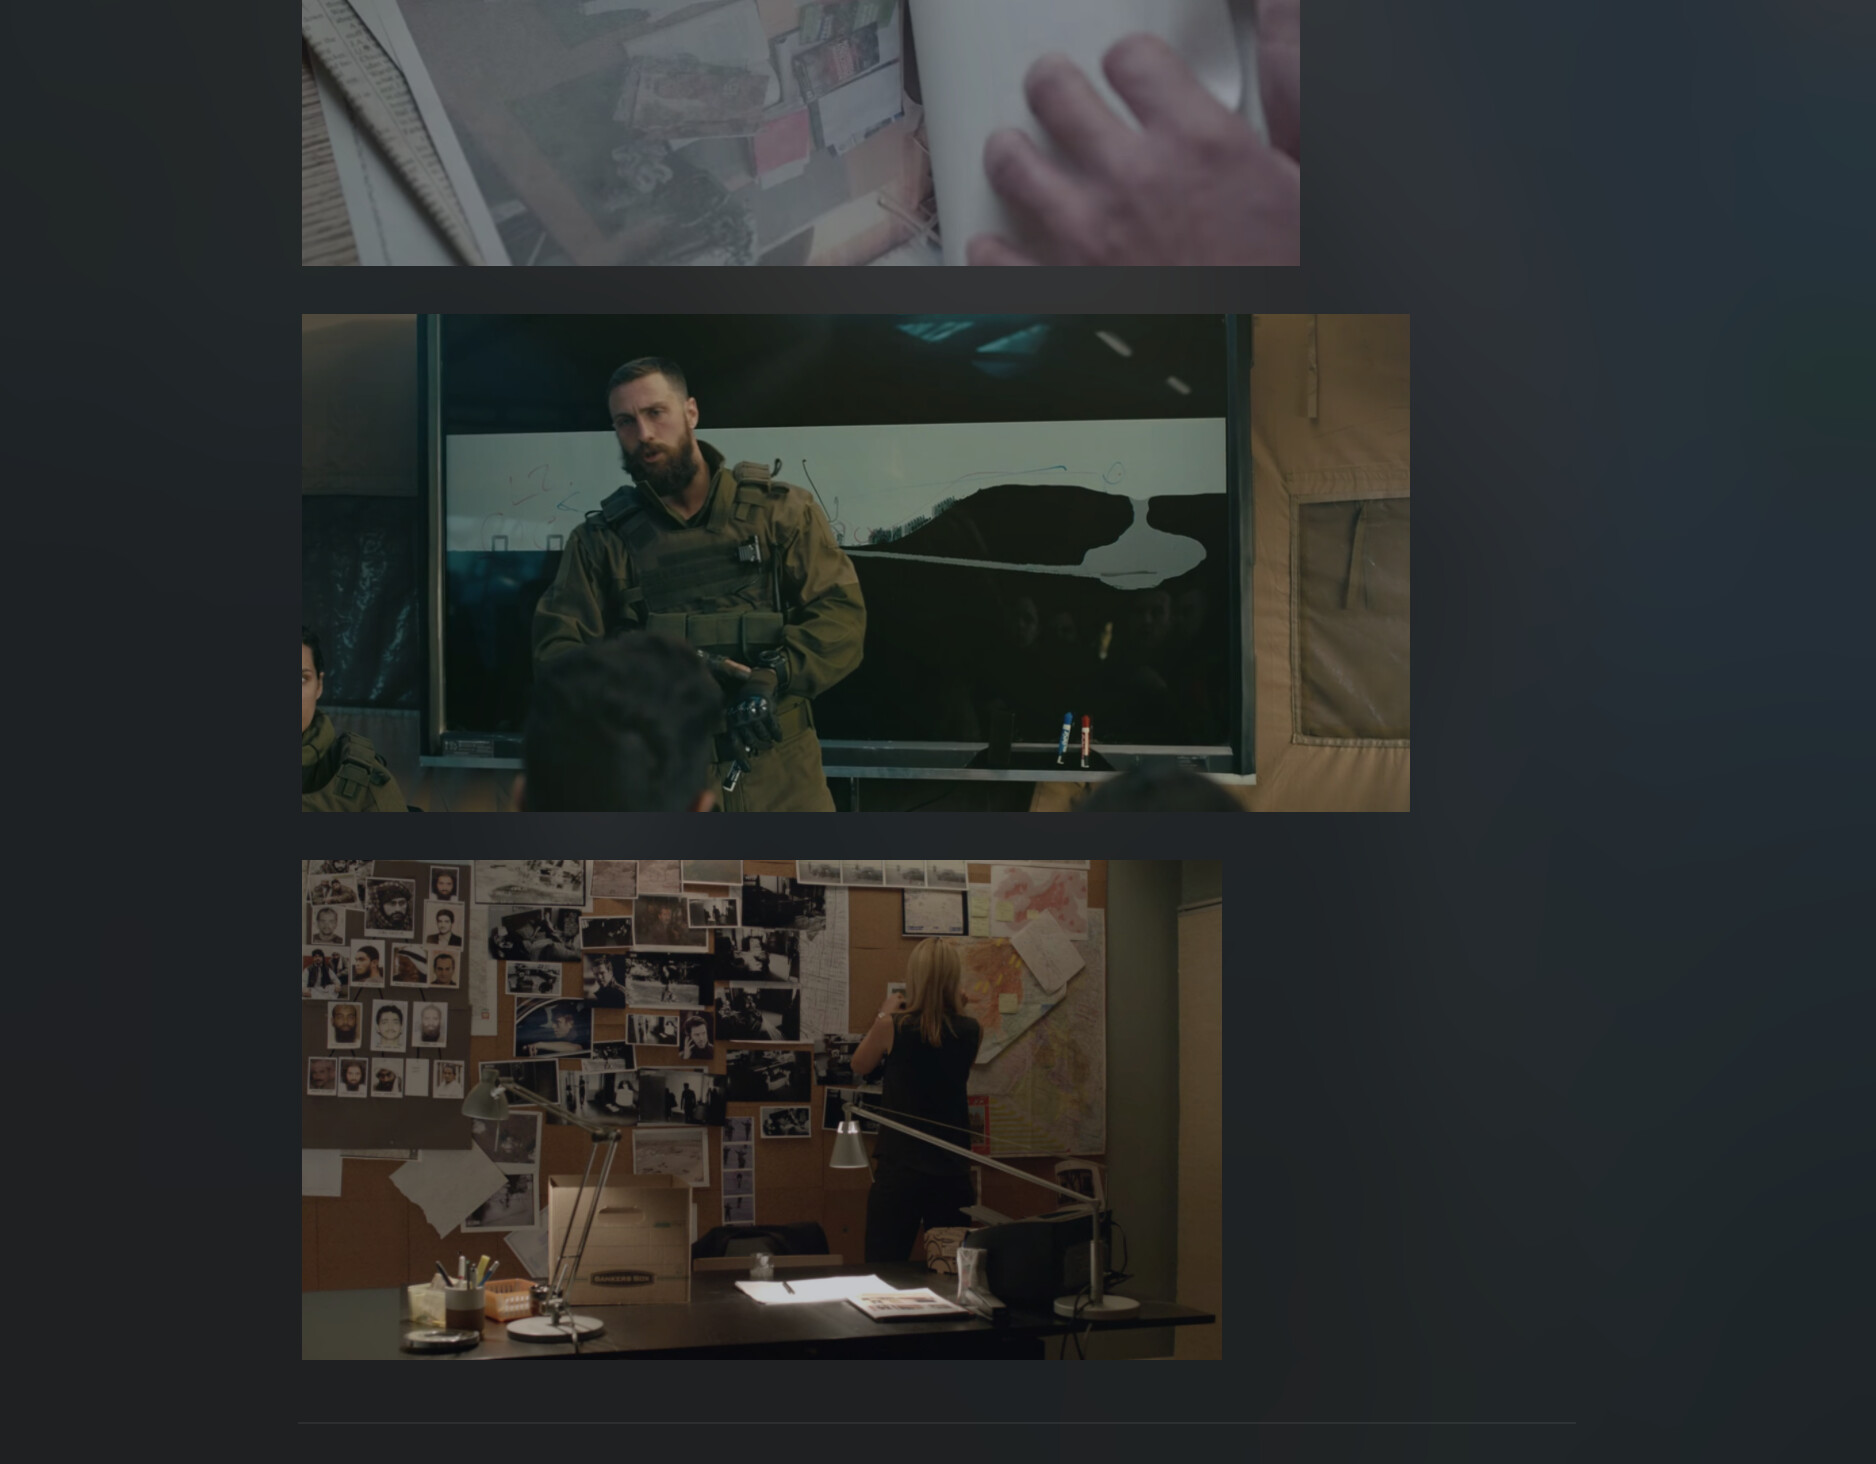
I’m not sure.
Maybe, you didn’t install & enable the snippet for those function, or you didn’t add some flags such as
[[image.png|+side -med]]
1 Like
Can you show me what your edit mode looks like for those pictures? I can help you troubleshoot it.
