There has been provided some good examples, but I just wanted to chip in with another alternative which I think is rather nice using decorated tasks (or custom checklists ). Using this (with some extra CSS) you can type out your equations like this:
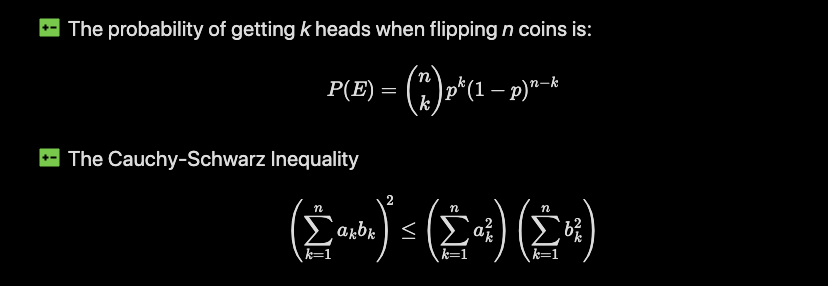
- [E] The probability of getting _k_ heads when flipping _n_ coins is:
$$
   P(E) = {n \choose k} p^k (1-p)^{ n-k}
$$
- [E] The Cauchy-Schwarz Inequality
  $$
    \left( \sum_{k=1}^n a_k b_k \right)^{\!\!2} \leq
    \left( \sum_{k=1}^n a_k^2 \right)
    \left( \sum_{k=1}^n b_k^2 \right)
  $$
It’s optional whether you want the math block fence indented or not, but they do need to be on the following line to be considered part of the task.
The query to gather these:
```dataview
TASK
WHERE status="E"
```
And you’ll get output like this:
This is with the Minimal theme, but the task can be decorated this way with other themes as well. One great advantage of using this type of markup is that you can click on the equation and it’s a natural link to where you defined the equation.
CSS markup for the 'E' tasks
I’ve chosen to use “E” for Equation, but this is of course something you can choose for your own. I’ve also opted for the increase-decrease-fill icon from the free remixicon.com icon set. This can also be changed.
I use decorated tasks like this for multiple cases, but I like how they’re free from clutter like tags or inline fields, and just use that simple icon to visually make it stand out just enough from the normal flow of the text. And the backlink it provides I also think is rather nice!
To get this in your own vault, add the following to a CSS snippet:
input[data-task="E"]:checked,
li[data-task="E"] > input:checked,
li[data-task="E"] > p > input:checked
{
  --checkbox-marker-color: transparent;
  border: none;
  border-radius: 0;
  background-image: none;
  background-color: currentColor;
  pointer-events: none;
  color: var(--color-green);
  -webkit-mask-size: var(--checkbox-icon);
  -webkit-mask-position: 50% 50%;
}

/* E - Equation, remixicon: incread-decrease-fill */
input[data-task="E"]:checked,
li[data-task="E"] > input:checked,
li[data-task="E"] > p > input:checked {
  -webkit-mask-image: url("data:image/svg+xml,%3Csvg xmlns='http://www.w3.org/2000/svg' viewBox='0 0 24 24' width='24' height='24'%3E%3Cpath d='M3.00488 3.00293H21.0049C21.5572 3.00293 22.0049 3.45064 22.0049 4.00293V20.0029C22.0049 20.5552 21.5572 21.0029 21.0049 21.0029H3.00488C2.4526 21.0029 2.00488 20.5552 2.00488 20.0029V4.00293C2.00488 3.45064 2.4526 3.00293 3.00488 3.00293ZM9.00488 11.0029V9.00293H7.00488V11.0029H5.00488V13.0029H7.00488V15.0029H9.00488V13.0029H11.0049V11.0029H9.00488ZM13.0049 11.0029V13.0029H19.0049V11.0029H13.0049Z' fill='%23000'%3E%3C/path%3E%3C/svg%3E");
}
Bonus tip: How to add a custom CSS snippet
- Goto Settings > Appearance and scroll down to “CSS snippets” section, and hit the folder icon on the far right. This opens up a file explorer window, in the folder
vault/.obsidian/snippets, which is were you want to save your css snippet - In this new window create a file, like
myCss.css, where you copy the CSS into. Make sure this actually is a text file, and that the name ends in.css - Back in Obsidian, you should now see your
myCssin the list of CSS snippets. If not, hit the refresh button - Final step is to click the enable button to the right of your file, and now your new CSS should be in effect
- If you later on make changes in the CSS snippet file, the effect should be immediate. If not, try disabling and re-enabling the snippet, or in some strange cases, you would need to reload Obsidian. In 99% of the cases, the changes are immediate, though.