Note: I’m still trying to figure out the best way to handle image paths but other than that this works nicely
Use Case
I wanted to set up a separate Obsidian vault intended for public access. Stuff like code snippets / ideas I might quickly want to share with friends / first entry notes that I’m going to organise into a different repo later on.
My first idea was using the Git plugin but … I ran into some teething problems with config and just decided to do a little DIY job in the end.
How To Set It Up
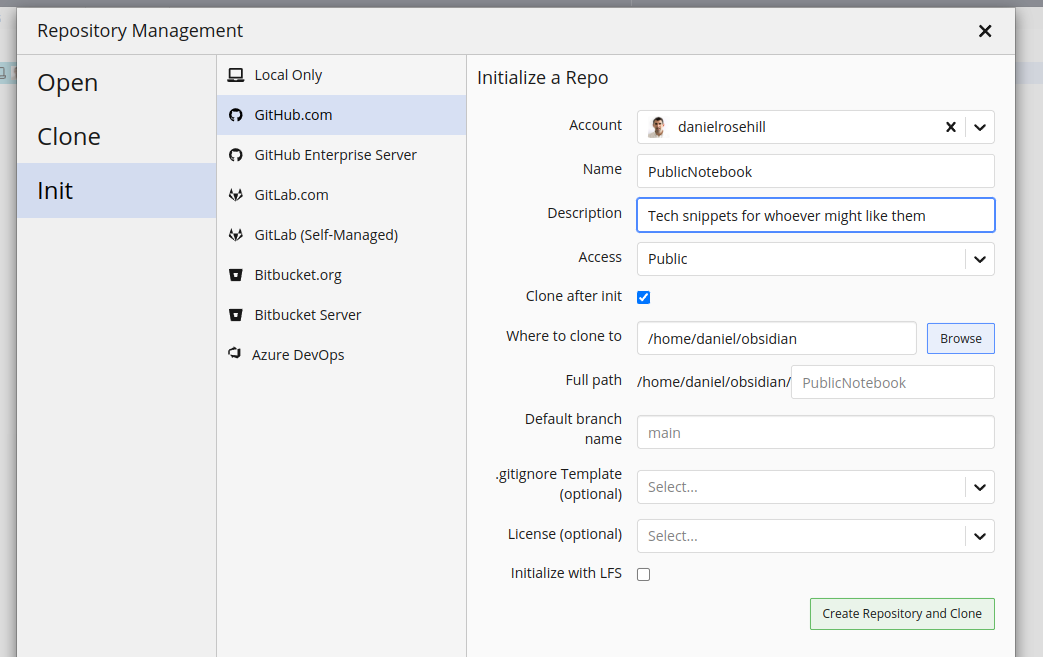
Firstly, I set up the repo using Gitkraken (not that this is OS specific but if it matters I’m on Ubuntu Linux):
Add Github Repo As A Vault
Just point Obsidian to wherever you’ve just initiated the repo:
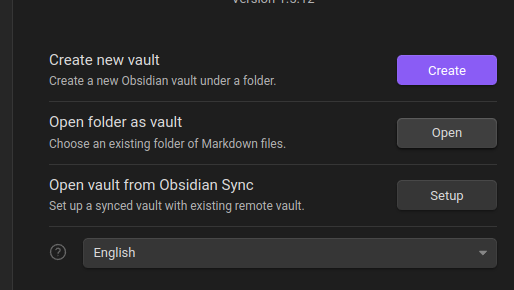
You can reverse the steps … I just like creating a Git repo before populating it with files.
Now you can begin working on your notes.
Exclude The Obsidian Config Folder
Obsidian creates a folder called .obsidian after vault initiation.
All you need to do is add this path to .gitignore which you can place anywhere in the repo.
With Gitkraken (no affiliation, I just like the tool!), you can do this easily with the GUI also:
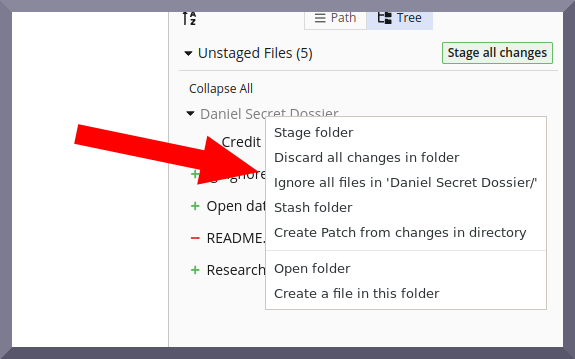
You could use this approach to create a subfolder for stuff that you don’t want to make public yet and just move the files over when you’re ready to share them.
Tip: If you plan on syncing the public notebook across multiple devices (I do!) do a quick check for any hidden files after setting up the sync client to make sure that you don’t inadvertently push stuff that shouldn’t be pushed.
In fact, it’s probably a good idea to just set a wildcard to ignore all hidden files (ie, matching this string):
.*
And that’s basically it!
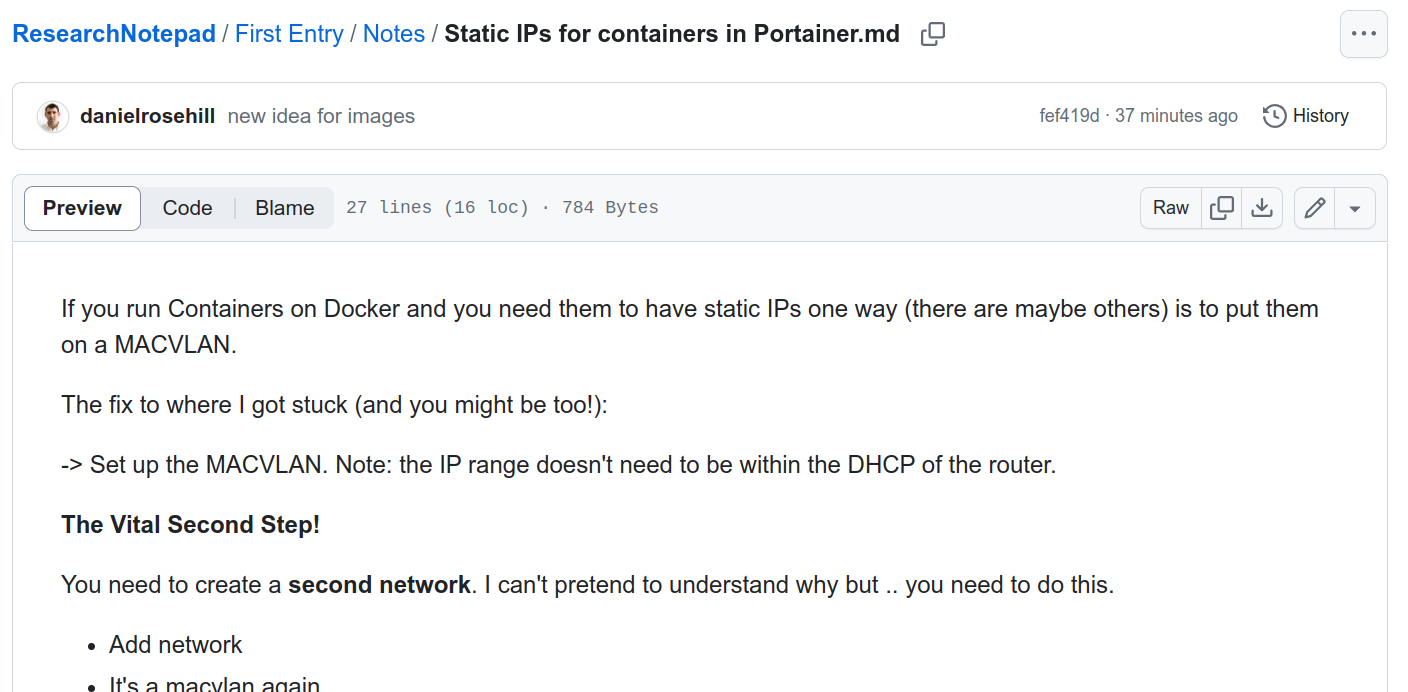
Obviously you’re going to need to push this up to Github for your updates to be visible to the world.
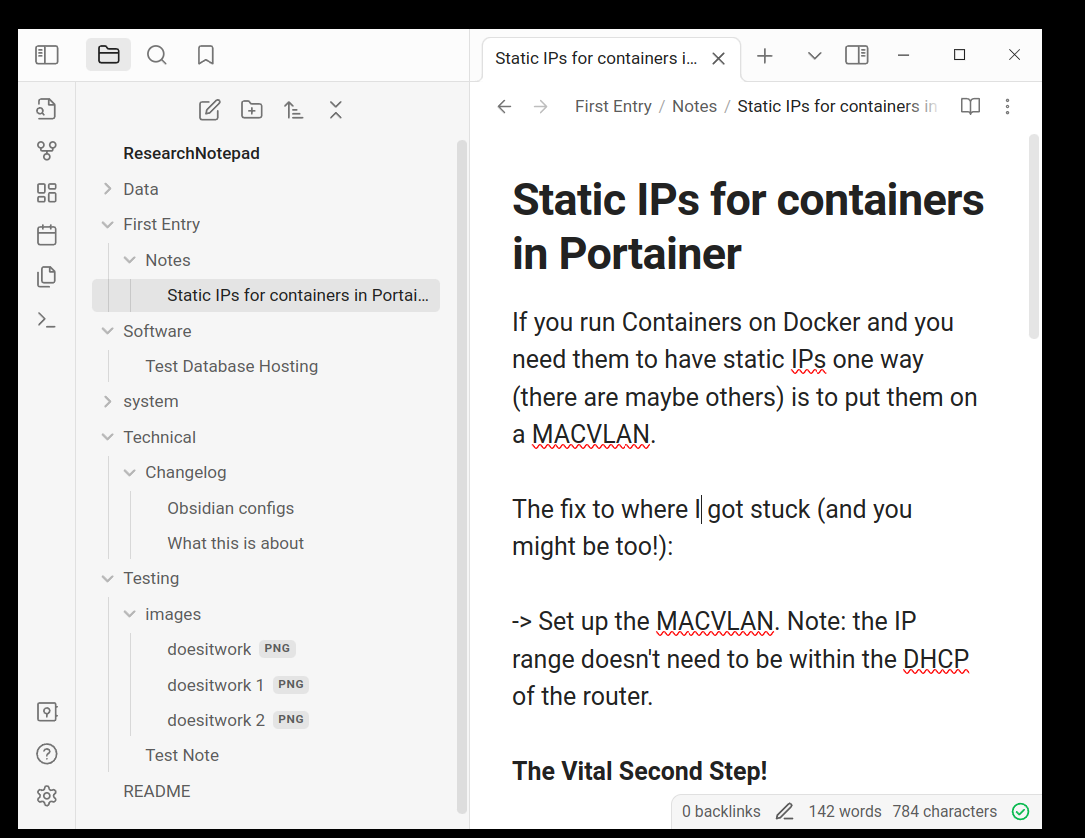
A Screenshot
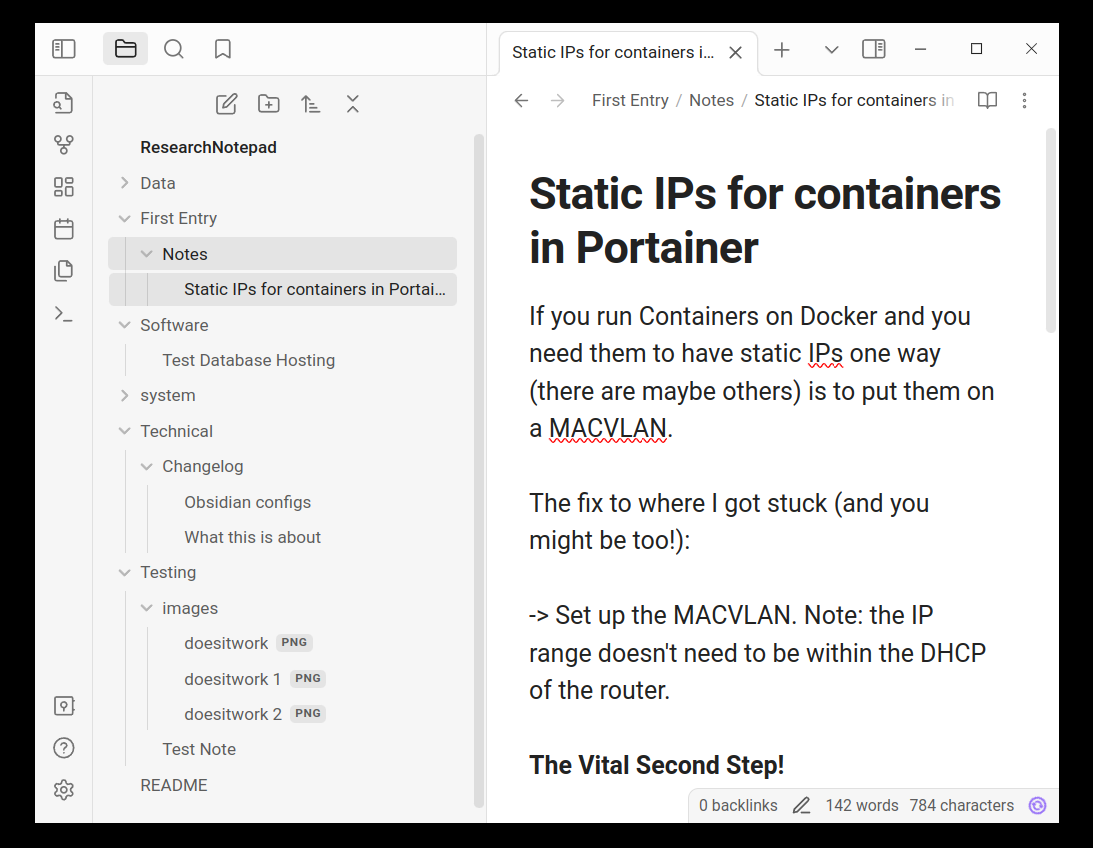
Local note on Obsidian:
Now accessible via Github: