不好意思,没懂是什么意思,麻烦截个图
已修复,请更新(主题商店中或手动下载)
1 Like


I really like this theme, but one thing I hate, that stops me from using it, is the random tag colors… The same tag gets different colors which is really annoying and confusing to be honest.
Can you tell my how to disable random tag colors and just have one (1) color for all tags? That would make this the perfect theme for me! Rest is just pure awesome
That’s a shame. These colorful tags, to be honest, are one of my favourite parts. 
If you hate it, then delete it!
- Please try to search for “colorful tags” in the .css file, then you will find the following.
/*colorful tags*/
.tag:not(.token).tag:nth-child(9n+1){background-color: var(--bqys1);} /*1*/
.tag:not(.token).tag:nth-child(9n+2){background-color: var(--bqys6);} /*6*/
.tag:not(.token).tag:nth-child(9n+3){background-color: var(--bqys2);} /*2*/
.tag:not(.token).tag:nth-child(9n+4){background-color: var(--bqys7);} /*7*/
.tag:not(.token).tag:nth-child(9n+5){background-color: var(--bqys3);} /*3*/
.tag:not(.token).tag:nth-child(9n+6){background-color: var(--bqys8);} /*8*/
.tag:not(.token).tag:nth-child(9n+7){background-color: var(--bqys4);} /*4*/
.tag:not(.token).tag:nth-child(9n+8){background-color: var(--bqys9);} /*9*/
.tag:not(.token).tag:nth-child(9n){background-color: var(--bqys5);}   /*5*/
-
Just delete them.
-
Now, you need to change the tag style to what you like. You will find the following just below the deleted part.
/* ====== Tag Pills ======== */
.tag:not(.token) {
	border: none;
	color: white;
	padding: 1px 8px;
	text-align: center;
	text-decoration: none;
	margin: 0px 0px;
	cursor: pointer;
	border-radius: 15px;
}
- If you want to set a tag background color, please add the following to the above part. It is noted that “#000000” is Hex Color Code, you should adjust it to the color you want. BTY, “#000000” refers to black.
background-color: #000000;
- Then you will get:
/* ====== Tag Pills ======== */
.tag:not(.token) {
	border: none;
	color: white;
	padding: 1px 8px;
	text-align: center;
	text-decoration: none;
	margin: 0px 0px;
	cursor: pointer;
	border-radius: 15px;
    background-color: #000000;
}
-
Or, if you want a tag with a border and no background color, you need to make the following adjustments.
-
You can change
border: none;
to
border: 2px solid #000000;
![]() That is the border style of tags.
That is the border style of tags.
And also change
color: white;
to
color: #000000;
![]() That is the font color in the tags.
That is the font color in the tags.
Now you get ![]()
/* ====== Tag Pills ======== */
.tag:not(.token) {
	border: 2px solid #000000;
	color: #000000;
	padding: 1px 8px;
	text-align: center;
	text-decoration: none;
	margin: 0px 0px;
	cursor: pointer;
	border-radius: 15px;
}
I think that’s all. Enjoy!
6 Likes
Thank you so much! I have very limited experience with coding and I couldn’t figure it out myself.
The reason why I really dont like it (less strong language then hate), is that the same tag gets different colors.
I make task lists where for example I tag tasks with a projectname. But this same projectname gets random colors everytime. So I find it very confusing when the same tags get different colors.
Again thank you so much!
2 Likes
Happy to help. Thank you for liking the theme.
Bty, There is another solution called “special tags”. For this, you can search for “special tags” in the .css file, then you will find something like this:
.tag[href^="#important"] {
  background-color: var(--tag1) !important;
  font-weight: 600;
  font-family: Lucida Handwriting;
}
Now you can Copy & Paste the above code anywhere and replace “important” with your personalized word. Also, you can change the font family and background color to what you like.
For instance, if you want create a tag called “OMG” with a special style:
.tag[href^="#OMG"] {
  background-color: #000000 !important;
  font-weight: 600;
  font-family: Arial;
}
Enjoy!
2 Likes
Ow, that is also an awesome idea!
Again thanks for the suggestion and helpen me edit your awesome theme! 
I am not that great at CSS (or any programming language for that matter).
Maybe, but I am not sure if it is possible, the random color could apply to different tags but the same tag keeps the same color?
For me it just gets confusing to have the same tag with random/different colors in the same document hehe.
Good idea! But it may not be possible, at least for my limited skills.
Additionally, the theme is now updated to v1.4 (20201126). Please have a try.
Updates
- Support for Day Planner Plugin
- Reduce scrollbar size
- Images now are centred, and images can be enlarged by hovering (100%) or by clicking (150%)
- Change hover colour (to green) in table threads
- Add four special tags (#dailynote, #weeklynote, #ideas, #questions)
- Adjust background colour both in light and dark mode
- Adjust for Andy Mode Plugin
- Other adjustments
You can update it in Community Themes by clicking “use” button again, or you can download the file here:
Blue Topaz v1.6 updated 20201206 for v0.9.20
Updates
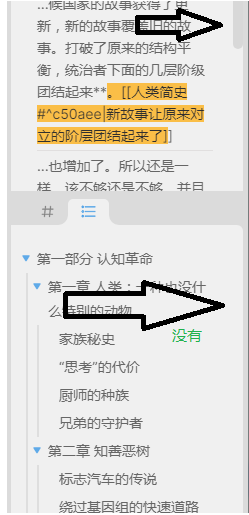
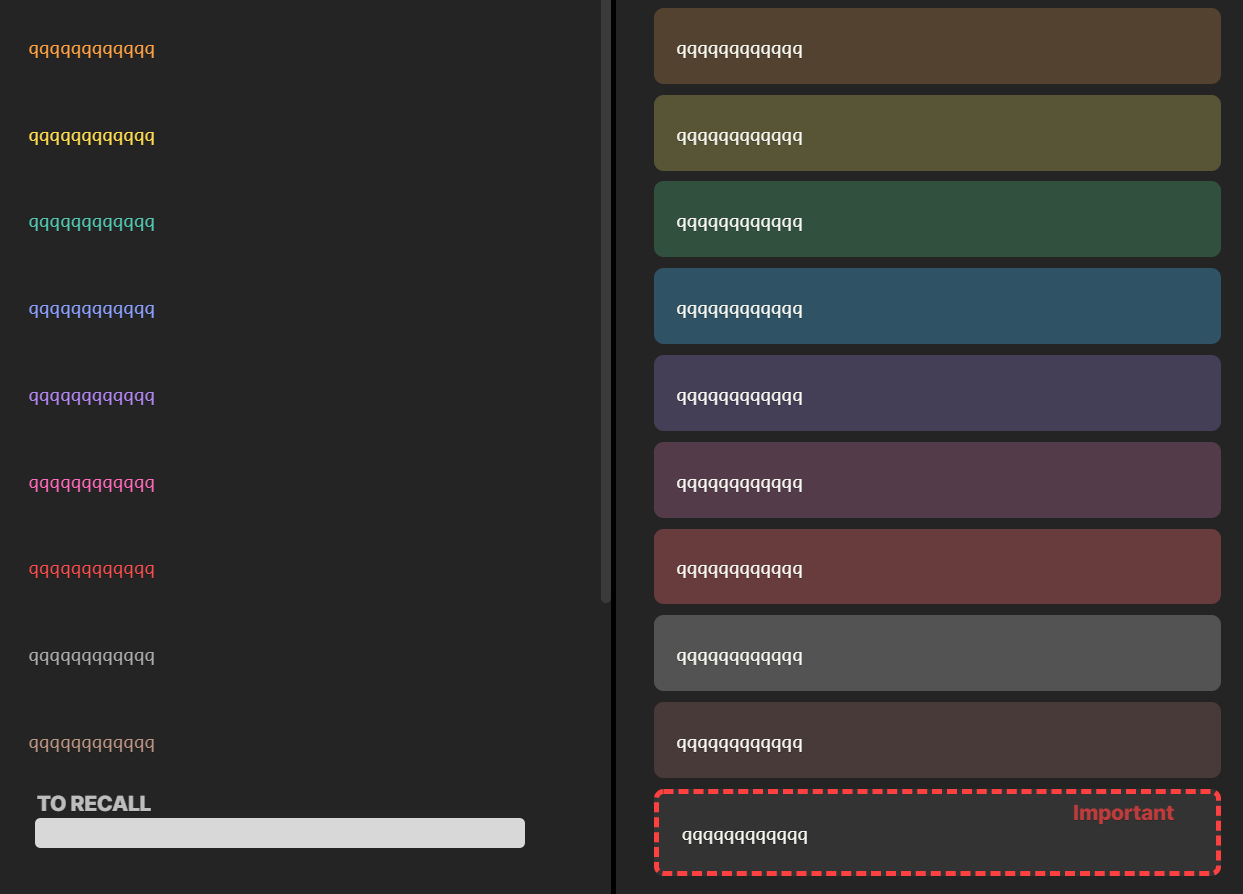
- Add colourful notes, important notes and recall notes (cloze notes) (modified from the theme Notion by death_au. Thanks to death_au. https://github.com/deathau/Notation-for-Obsidian )
a. colourful notes: ```note-color-bg or note-color-background
```note-orange-bg
```note-yellow-bg
```note-green-bg
```note-blue-bg
```note-purple-bg
```note-pink-bg
```note-red-bg
```note-gray-bg
```note-brown-bg
b. important notes:
```note-imp
or
```note-important
c. recall notes:
```note-cloze


3 Likes
Used to love this, and used it as my main theme. But recent changes are over the top. Can’t live with the boxes around list items, and I haven’t managed to turn them off. Overall it now has too many difficult bells and whistles, a lot of which could have been offered as snippet options instead. Comment and explanations could have been much clearer too. Sorry to have to switch away from it.
I’m sorry you don’t like the new style of lists. I have to admit, it’s hard to get everyone to like the same thing. And I don’t like too fancy styles either, but I like to see some funny things like hovering. So, I am not going to make changes to the list or other parts now,
but there are some solutions for you and others who dislike the list style.
1. If you just don’t want the box
You should copy the following code to a new .txt file with any name you like, then rename the .txt to .css and put the .css file to “vault/.obsidian/snippets” folder, and activate the css snippet in Obsidian Setting–> Appearance --> CSS snippets.
ul > li:not(.task-list-item),
ol > li {
  box-shadow: none !important;
}
2. If you can live with the box appearing when the mouse hovers
You should copy this:
ul > li:not(.task-list-item):not(:hover),
ol > li:not(:hover) {
  box-shadow: none;
}
3. If you just want the previous style (without automatic counting like “1.1.2”)
You should copy the following:
ul ul::before,
ol ul::before,
ul ol::before,
ol ol::before {
  content:'';
  border-left: 2px solid var(--background-modifier-border);
  position: absolute;
}

ul ul::before,
ol ul::before,
ul ol::before,
ol ol::before {
  left: -13px;
  top: 28px;
  bottom: 0;
}

li > p:not(.task-list-item) {
  display: inline;
  margin-top: 0;
  margin-bottom: 0;
}

ul,
ul ul,
ol ul,
ul ul ul,
ul ol ul,
ol ul ul,
ol ol ul {
  list-style: disc;
}

ul > li:not(.task-list-item) {
  padding-left: 0px;
  list-style-position: outside;
  margin-bottom: 8px;
  padding-right: 0px;
  margin-block-start: 0.5em;
}


ul > li:not(.task-list-item) {
  border-left: none !important;
  box-shadow: none !important;
}

ul > li:not(.task-list-item)::before {
  display: none !important;
}

ol {
  display: block;
  list-style-type: decimal;
  margin-block-start: 0.5em;
  margin-block-end: 1em;
  margin-inline-start: 0px;
  margin-inline-end: 0px;
  padding-inline-start: 40px;
  padding-inline-start: 2.5em;
  margin-left: 0px;
}

ol > li {
  padding-left: 0px;
  list-style-position: outside;
  margin-bottom: 8px;
  padding-right: 0px;
}

ol > li {
  border-left: none !important;
  box-shadow: none !important;
}

ol > li::before {
  display: none;
}
The last one, if you want the previous style with the automatic counting
Use this:
ul ul::before,
ol ul::before,
ul ol::before,
ol ol::before {
  content:'';
  border-left: 2px solid var(--background-modifier-border);
  position: absolute;
}

ul ul::before,
ol ul::before,
ul ol::before,
ol ol::before {
  left: -13px;
  top: 28px;
  bottom: 0;
}

li > p:not(.task-list-item) {
  display: inline;
  margin-top: 0;
  margin-bottom: 0;
}

ul,
ul ul,
ol ul,
ul ul ul,
ul ol ul,
ol ul ul,
ol ol ul {
  list-style: disc;
}

ul > li:not(.task-list-item) {
  padding-left: 0px;
  list-style-position: outside;
  margin-bottom: 8px;
  padding-right: 0px;
  margin-block-start: 0.3em;
}


ul > li:not(.task-list-item) {
  border-left: none !important;
  box-shadow: none !important;
}

ul > li:not(.task-list-item)::before {
  display: none !important;
}

ol {
  display: block;
  margin-block-start: 0.5em;
  margin-block-end: 1em;
  margin-inline-start: 0px;
  margin-inline-end: 0px;
  padding-inline-start: 40px;
  padding-inline-start: 2.5em;
  margin-left: 0px;
}

ol > li {
  padding-left: 0px;
  list-style-position: inside;
  margin-bottom: 8px;
  padding-right: 0px;
}

ol > li {
  border-left: none !important;
  box-shadow: none !important;
}

ol > li::before {
  margin-left: -17px;
}
That’s all. I believe that you can now find the “bell” you like. And if you want to remove the rest of ‘whistles’, I can also help. Or if you think it’s too much trouble to change the css file yourself, it’s also a good idea to change the theme. Anyway, enjoy!
2 Likes
Thanks for the fix. Pretty simple as it turns out, though for some reason the snippets solution didn’t work on my system and I had to edit the main css file. Happy to have the cleaner look back in any case. Cheers. .
1 Like
Thanks for sharing the fixes.
I agree that there’s no way to please everybody and ultimately it is your theme.
That said, I had written some css to remove the boxes and shadows. When taking notes I need to control what gets additional color, flourish and focus so that I know it’s my emphasis. Also much of my notes are UL meaning most of my notes were in boxes with shadows. Just too much for me.
Maybe you can have a config option that lets people set which style they would want? You’ve already written the code a couple messages up lol
1 Like
Thank you for understanding.
I do consider making a plugin or switch to control or select some styles of the theme, but I don’t have time or energy to do that at the moment, so may need to wait a while…
Love the theme - thank you for creating and updating it. I love the colourful headings in dark mode and would like to have them when in light mode as well. Is there an easy way to do this? Possibly with a snippet?
Thank you for liking it! 
You can directly use the below code as a css snippet, the colour order is the same as that in dark mode, or you can change some of them to what you like. Enjoy!
.theme-light{
  /* Headings */
  --h1ys: #3a76c5;
  --h2ys: #0ea72d;
  --h3ys: #d1c115;
  --h4ys: #e79653;
  --h5ys: #ee4c4c;
  --h6ys: #976bd8;
}
1 Like
is it possible only use colorful note background in other theme ?
I did my self.
1 Like